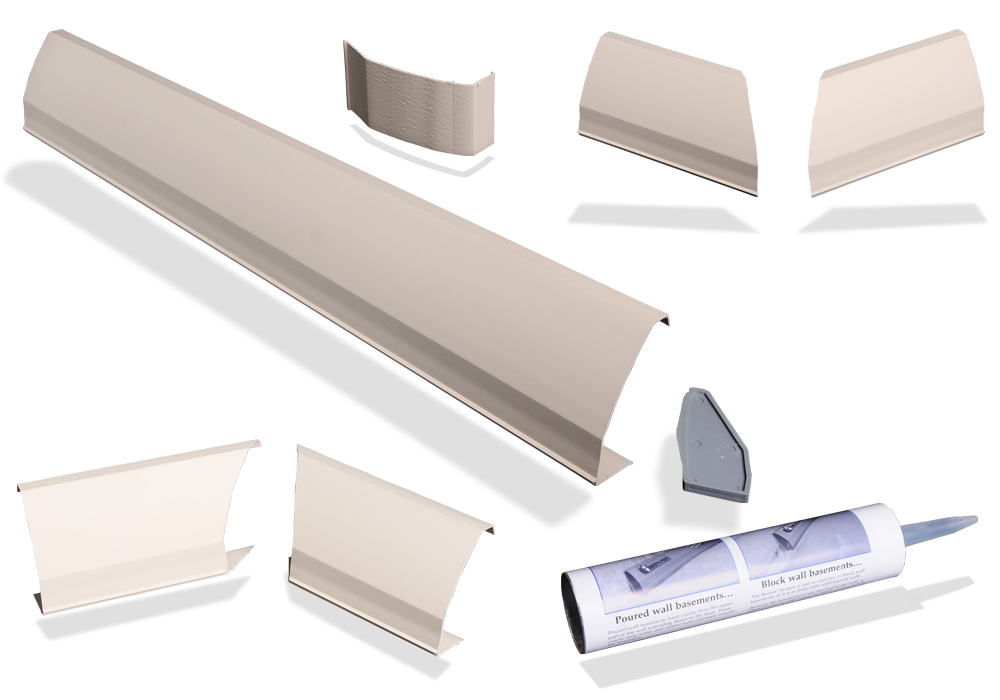
DIY Level 1 : Basement Waterproofing System
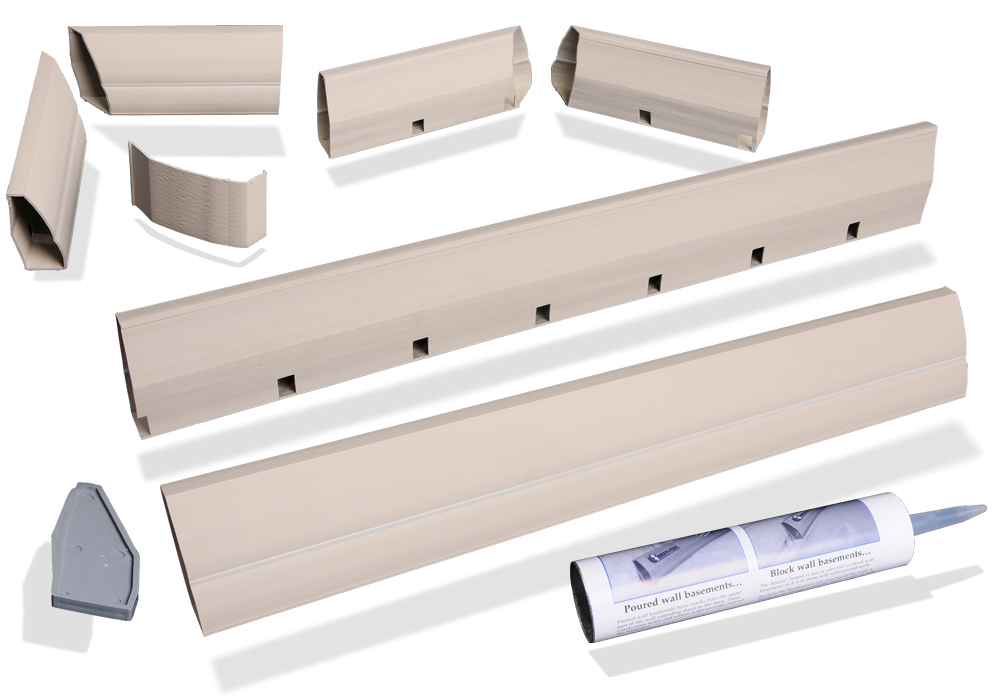
DIY Level 2 : Basement Waterproofing System
EASY Do-It-Yourself Installation of a Proven System That Can DRY UP Your Basement!
The Level 2 Beaver Baseboard Basement Waterproofing System offers upgraded features while maintaining affordability so you can have a dry basement. The Level 2 system features a closed back as well as a hinge feature that allows you to access inside the system should there ever be a restriction.
Use Our Project Calculator
Calculate exactly what you will need for your custom basement waterproofing project. Simply enter your exact measurements and then compare costs between Beaver Basement DIY Kits and Professional Installation and simply click the Order button for the DIY Kit that you would like to order.

Watch This Easy Do It Yourself Video
You can dry up your wet basement at a fraction of the cost of other products. Calculate exact costs for your project. Calculate and compare DIY kits vs. a professional installation in minutes! Calculate exactly what you will need for your custom basement waterproofing project.
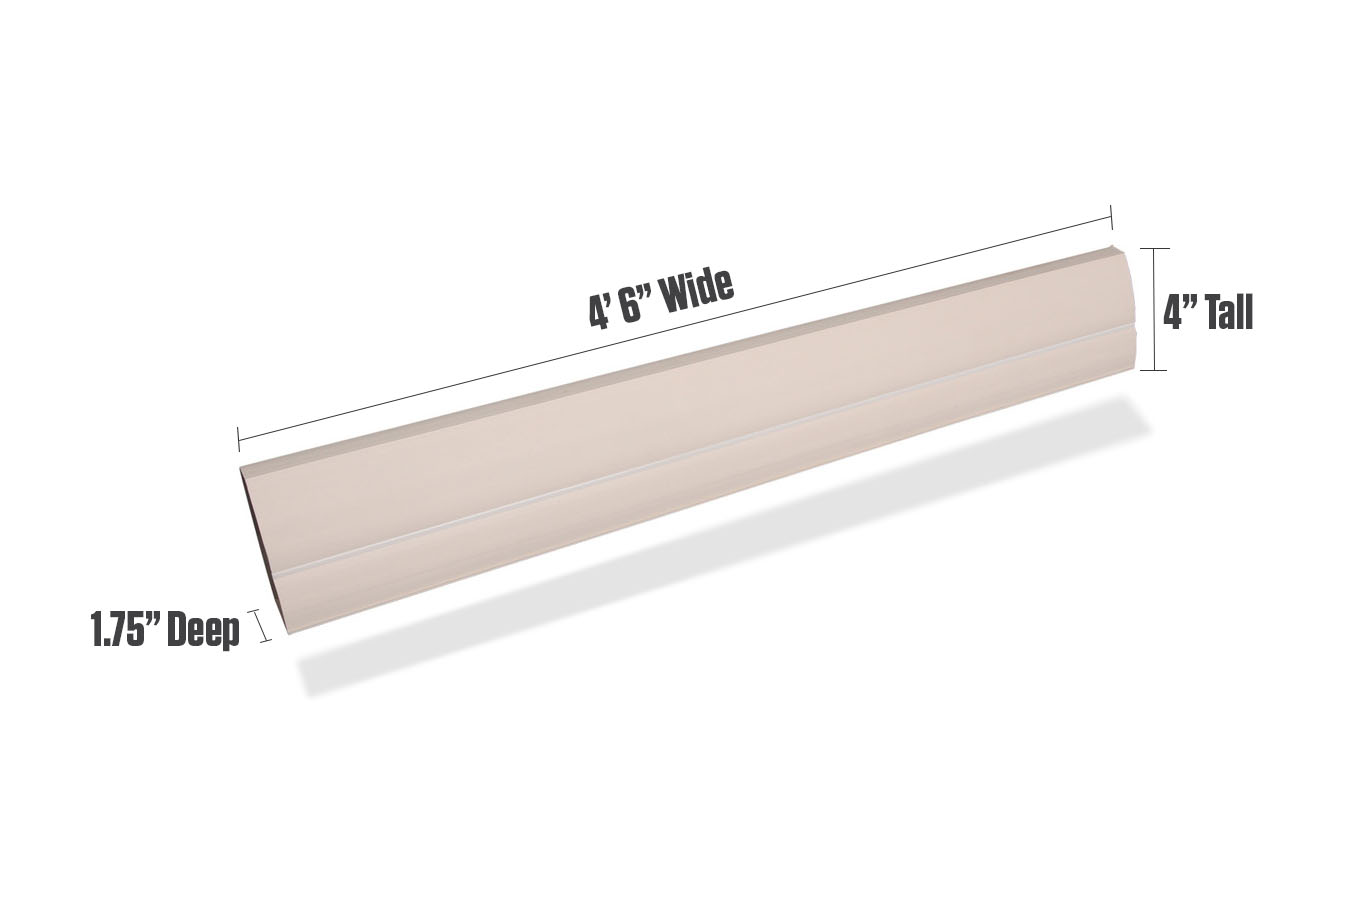
Level 1 Baseboard Dimensions
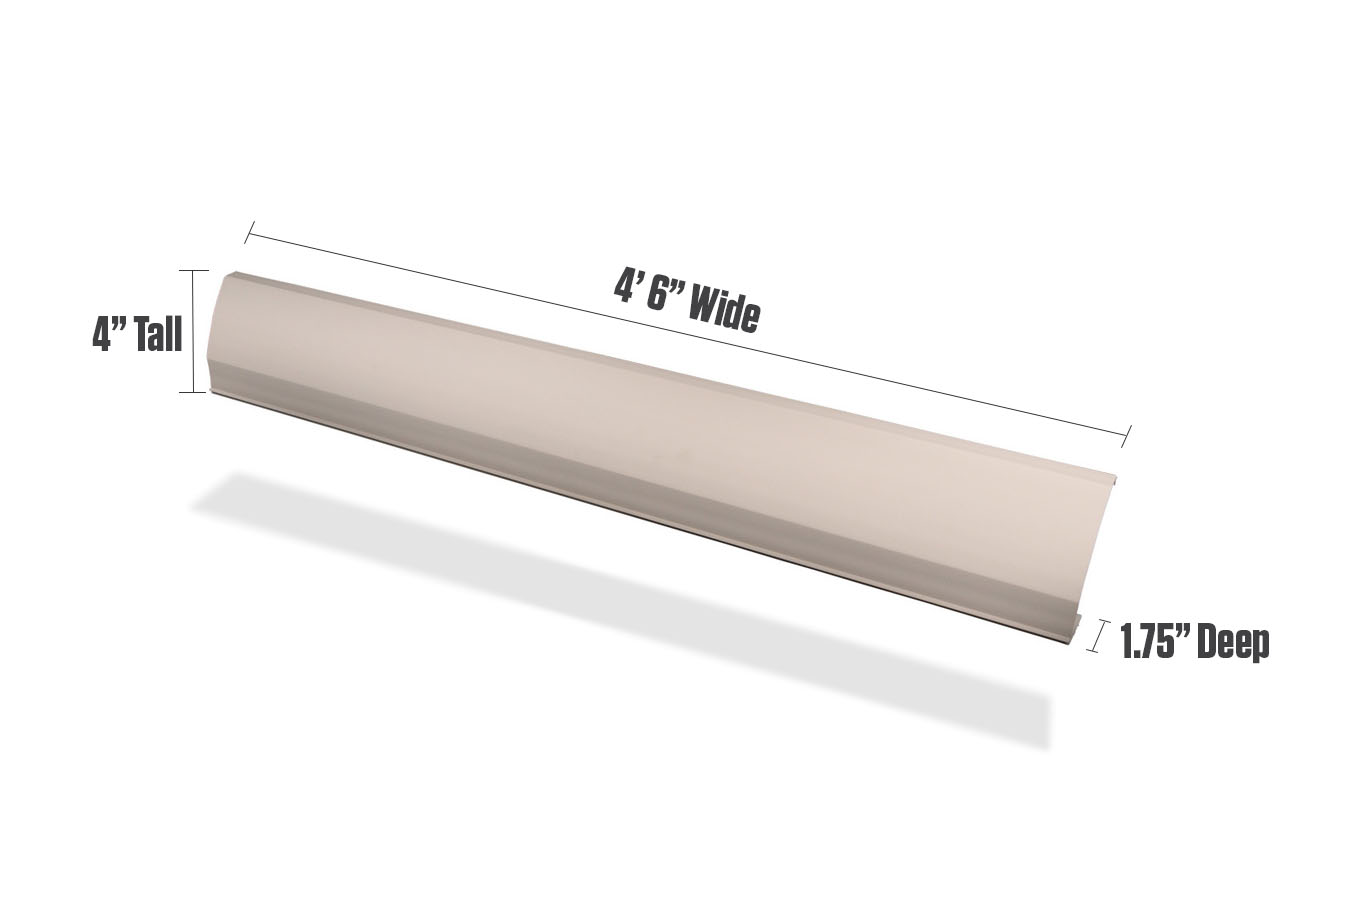
Level 2 Baseboard Dimensions
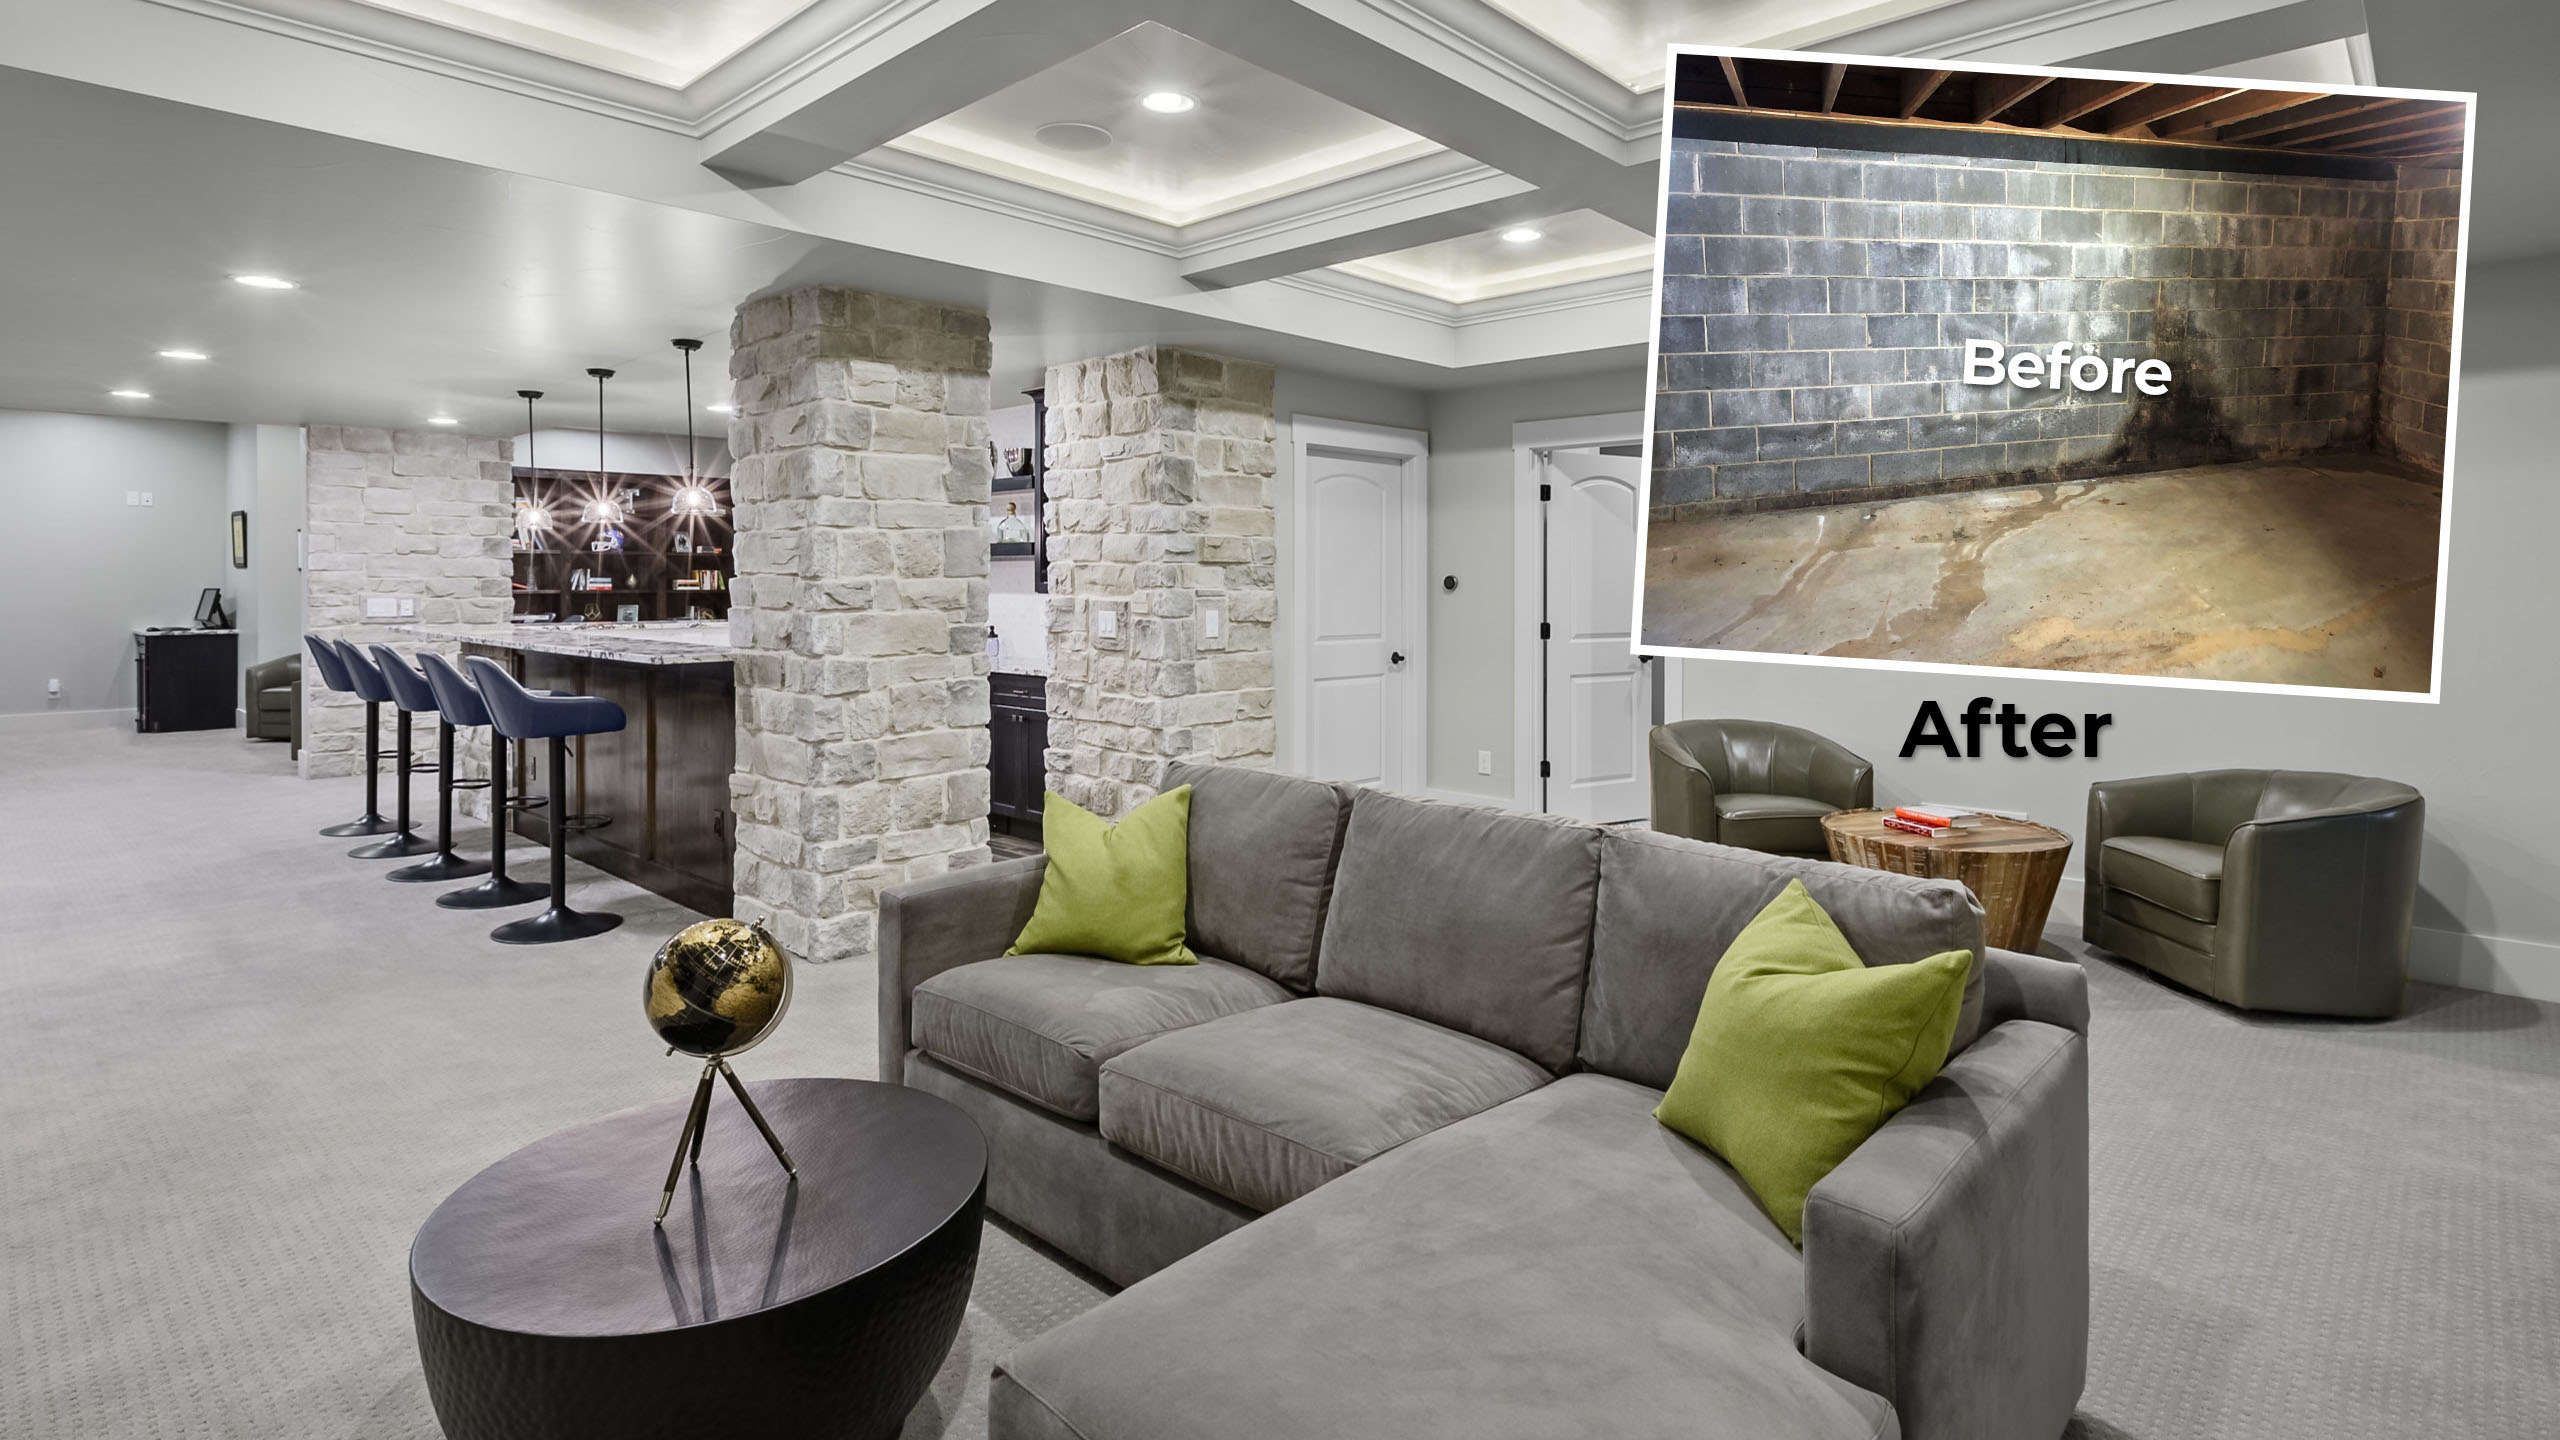
Do-It-Yourself Basement Waterproofing
Basement Waterproofing Systems… Easy Installation!
No Digging, Jackhammers or Buckets of Mud!
Our systems have 47 years of proven performance and more than 15 million feet still in use!
The Beaver waterproofing systems offer homeowners quality construction, superior performance, and the opportunity to turn their wet basements into additional living space, at just a fraction of the cost of ordinary contractor installed drain-tile systems. The Beaver’s basement waterproofing system makes sense!
Our ease of installation for Do-It-Yourself Basement Waterproofing System is unparalleled.
Take a look at our products and then compare the cost of our Do-It-Yourself basement waterproofing kits to the cost of having a system professionally installed. You will see that we offer a superior product at a cost saving price!
Easy DIY Installation Kit
Drying up your basement can be easier than you think… and without the need for a professional to do it for you. In most cases you could likely fix the problem for good within a few hours of your time.


Successfully installed at…
Notre Dame | University of Michigan | University of Wisconsin | Fort Bragg | Fort Knox | Andrews Air Force Base | Hoover Dam | Boulder City, NV …just to name a few