BEAVER® Basement Waterproofing LEVEL 2 Installation Guide
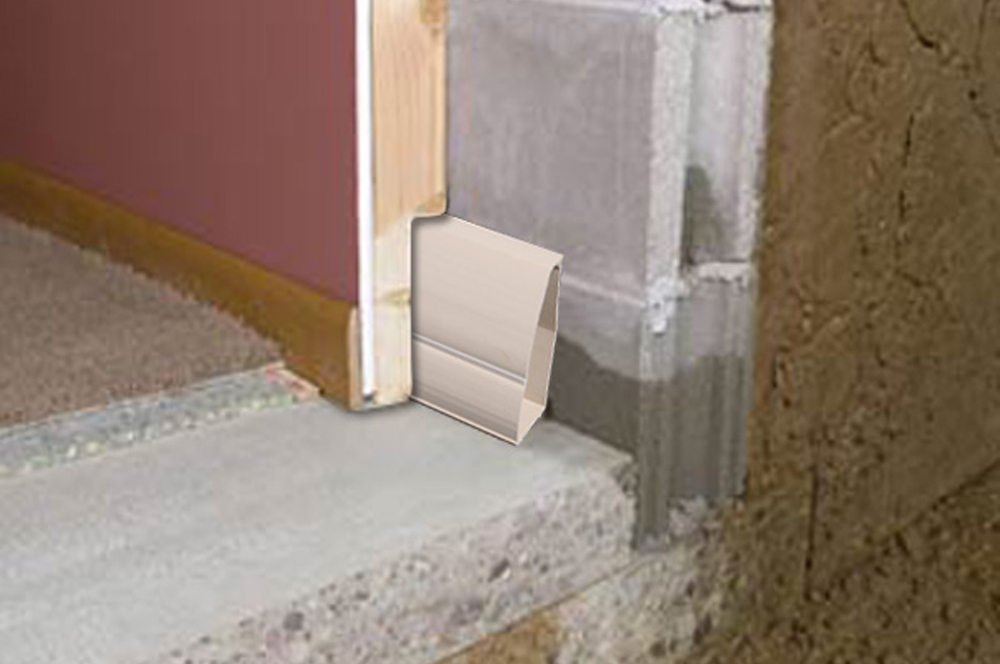
HOW IT WORKS: Relieve hydrostatic pressure along your basement walls with our baseboard drainage system. Dry up your wet basement so it can be finished to add extra living space and value to your home.
Most wet basement problems are caused by water collecting around the foundation, creating hydrostatic pressure. The pressure forces water through the joint where the wall and floor meet, and even through cracks and pores in the concrete block walls. The BEAVER® baseboard solves the problem by doing what paints, plugs and sealers can’t do; it collects the water and quietly drains it away to your basement sump-pump.
Pressure is relieved by drilling holes in the concrete block cavities at floor level. The BEAVER® Basement Waterproofing Baseboard System is then installed along the walls and sealed to the floor with Border Bond® adhesive. When water collects around the foundation, it seeps from the holes in the blocks, and from the seam where the wall and floor join, into the hollow baseboard and is directed to your sump-pump.Border Bond® adhesive bonds water tight in wet conditions!

Poured Wall Basements
Poured-wall basements have cracks from the upper part of the wall extending down to the floor. These cracks seep water and relieve water pressure around the basement. Seal all vertical cracks (or complete wall area) except for the bottom 3 inches of the wall or cracks with a waterproofingpaint or sealer.
Never seal the joint where the floor and wall meet! This joint must be kept open to relieve hydrostatic pressure. The BEAVER® Basement Waterproofing Baseboard System will collect water seepage from vertical wall cracks and from the joint where the floor and wall meet and channel it to your floor drain and sump pump.
Block Wall Basements
The BEAVER® Basement Waterproofing Baseboard System is just as effective in block wall basements as it is in those with solid poured walls. Because the baseboard is not attached to the wall, it allows air to circulate within the block cavities to help keep them dry. It also provides a source of disposal for upper wall moisture collected by the vapor barrier. You cannot aerate cavity walls to keep them dry or provide a method for collecting moisture from the vapor barrier with any other method. It is another important advantage of the BEAVER® baseboard system.
Watch the Basement Waterproofing Installation Video
LEVEL 2 EASY Install Guide:
Our ease of installation for our Border Patrol Basement Waterproofing System is unparalleled. He is a quick step-by-step process to show you how easily you can fix your wet basement with our custom DIY (Do-it-Yourself) line of basement waterproofing products.
* Click on the images within each step to see larger images.
Step 1 : Tools You Will Need
These are the tools that you will need to easily install the Beaver Basement Waterproofing System.
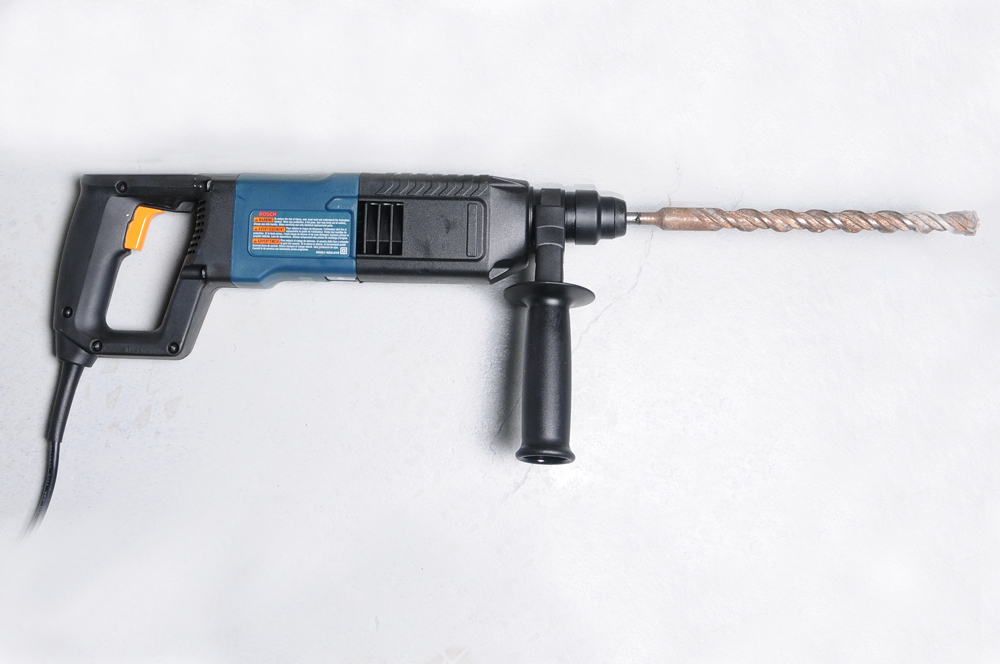
Drill
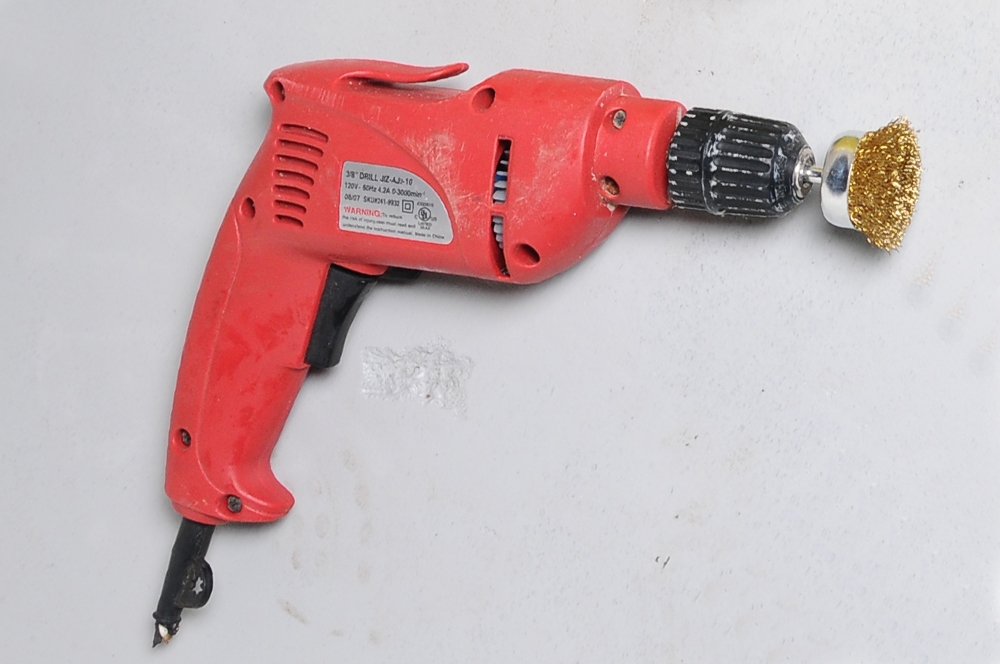
Sander or Rough Bit
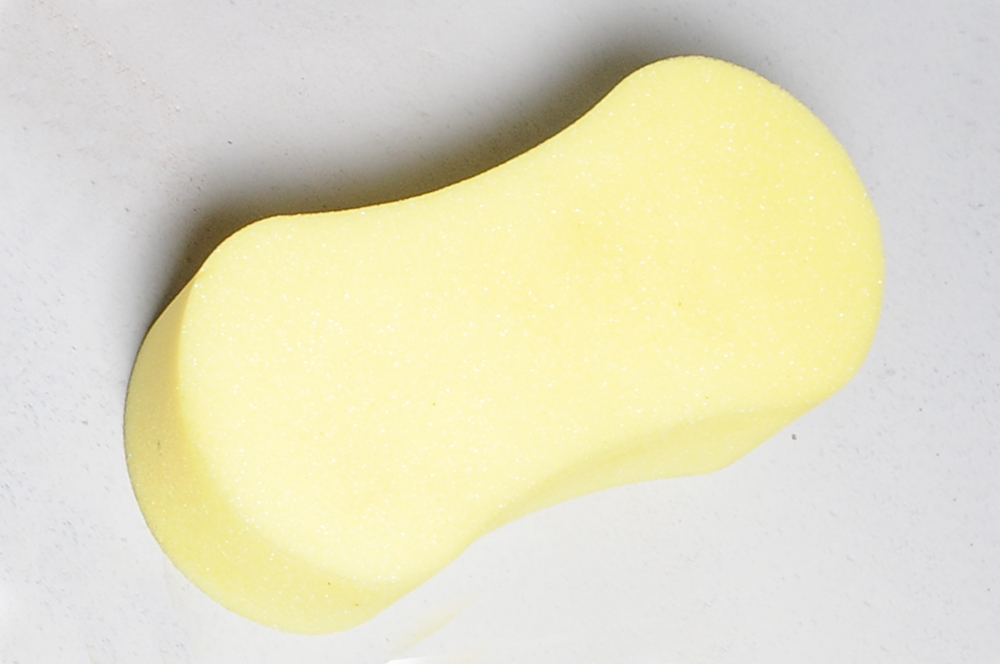
Sponge
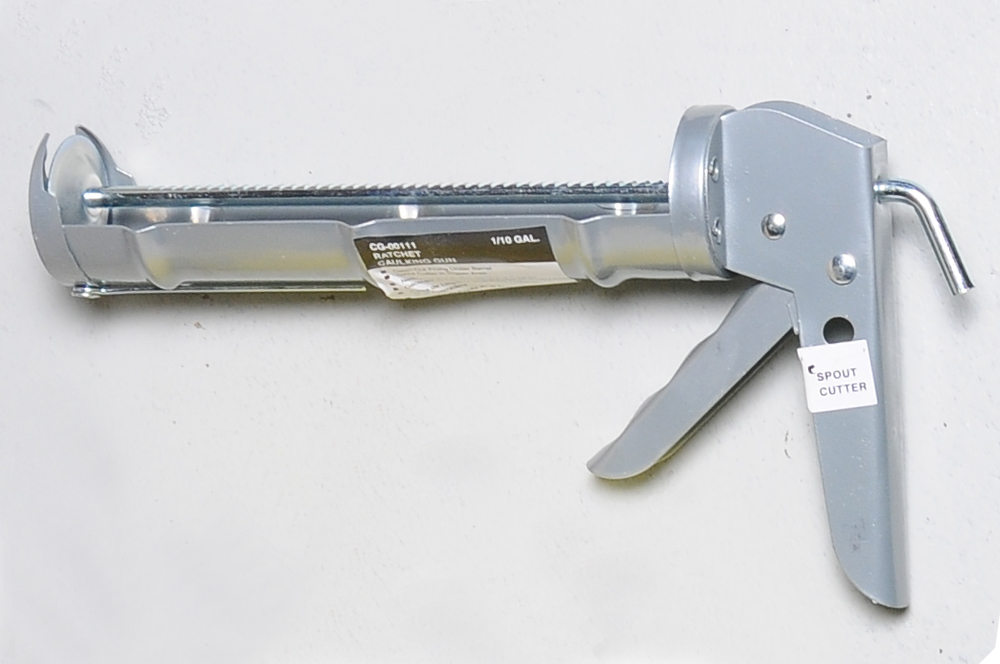
Caulk Gun
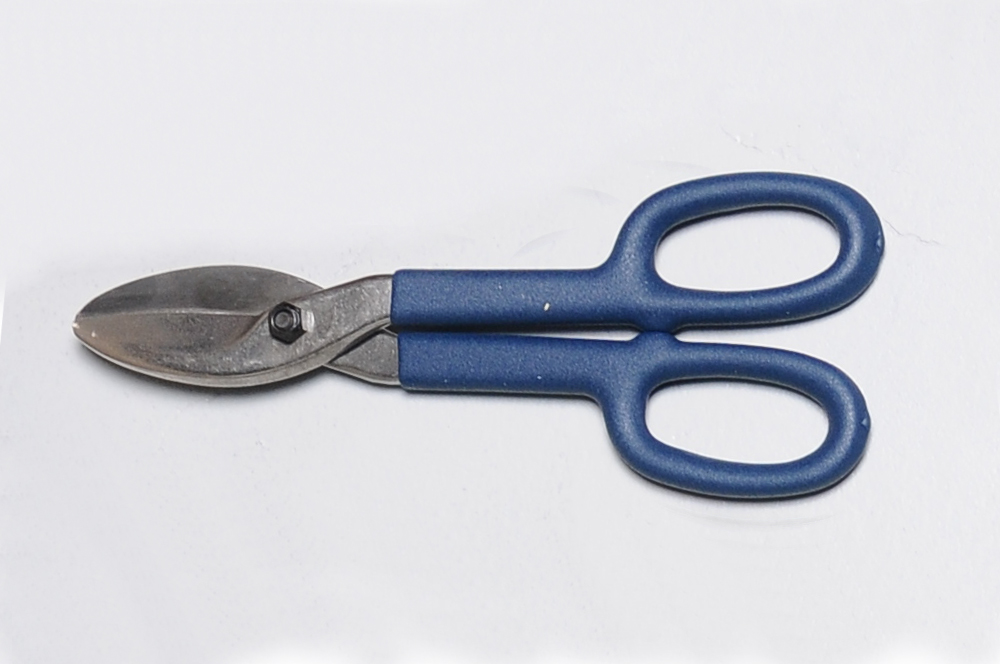
Heavy Duty Scissors
Step 2 : Relieve Hydrostatic Pressure
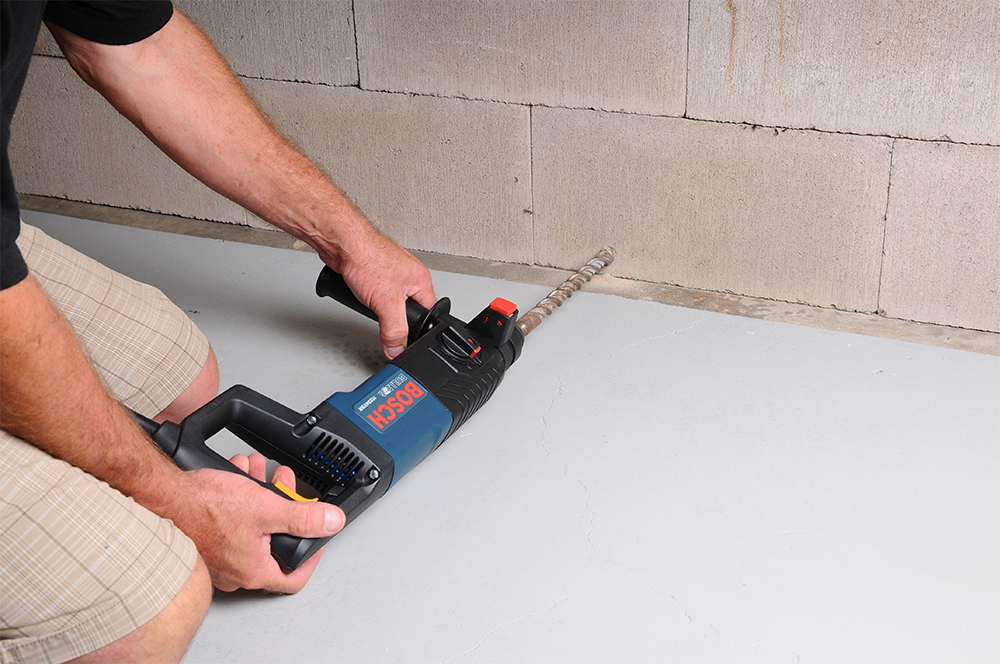
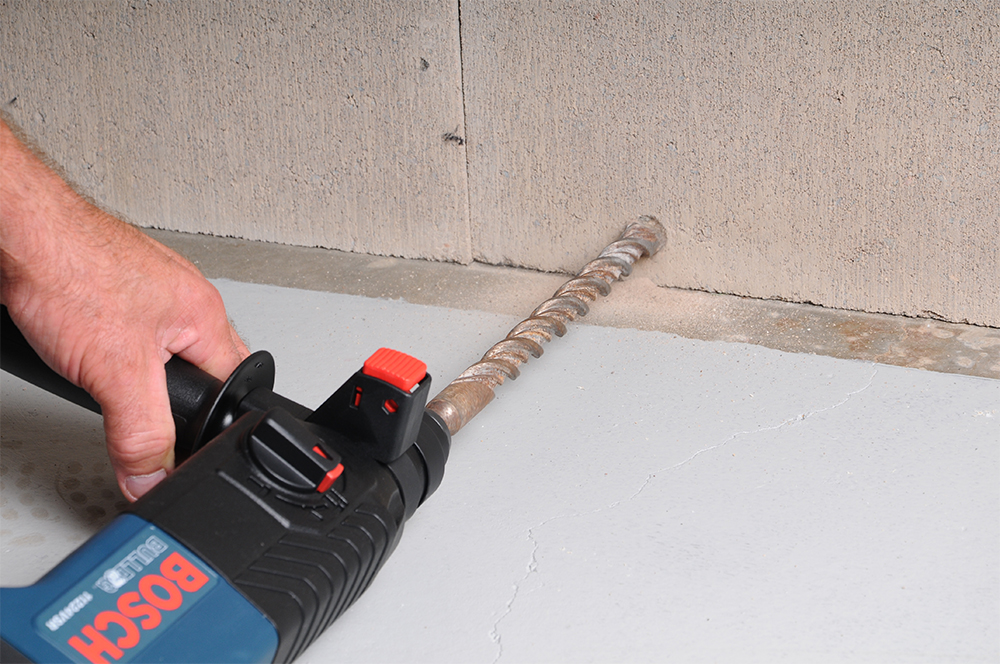
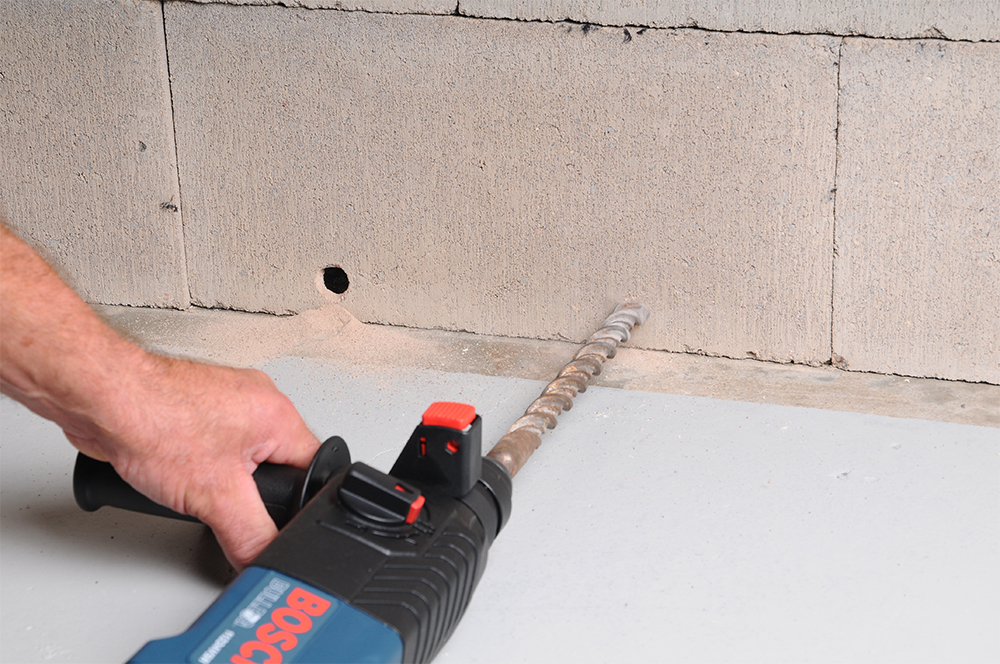
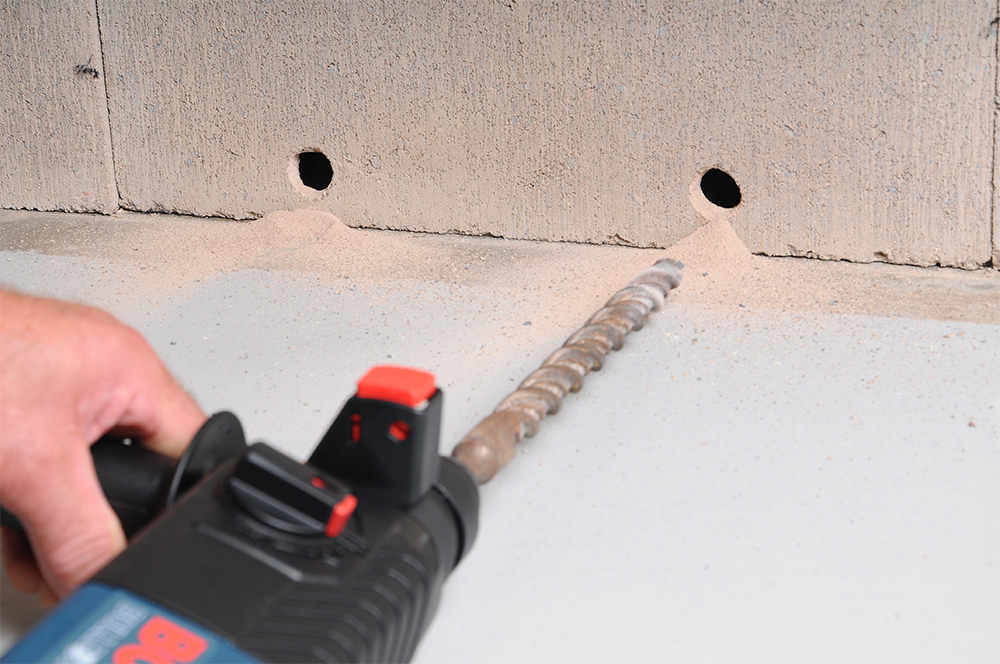
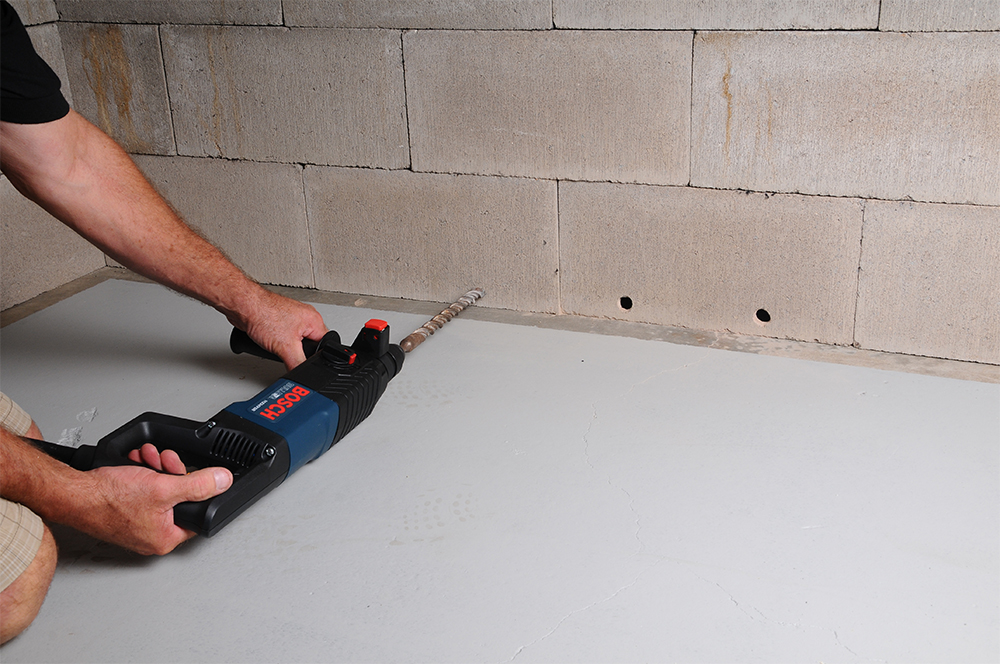
Make “weep” holes in the cells of each block (4″ – 6″ from each end ) at the point where the floor and wall meet. This can be done with a drill and ½” masonry bit. Solid poured concrete walls have no cavities, so weep holes are not required.
Step 2.1
Step 2.2
Step 2.3
Step 2.4
Step 2.5
Step 3 : Prepare the Surface
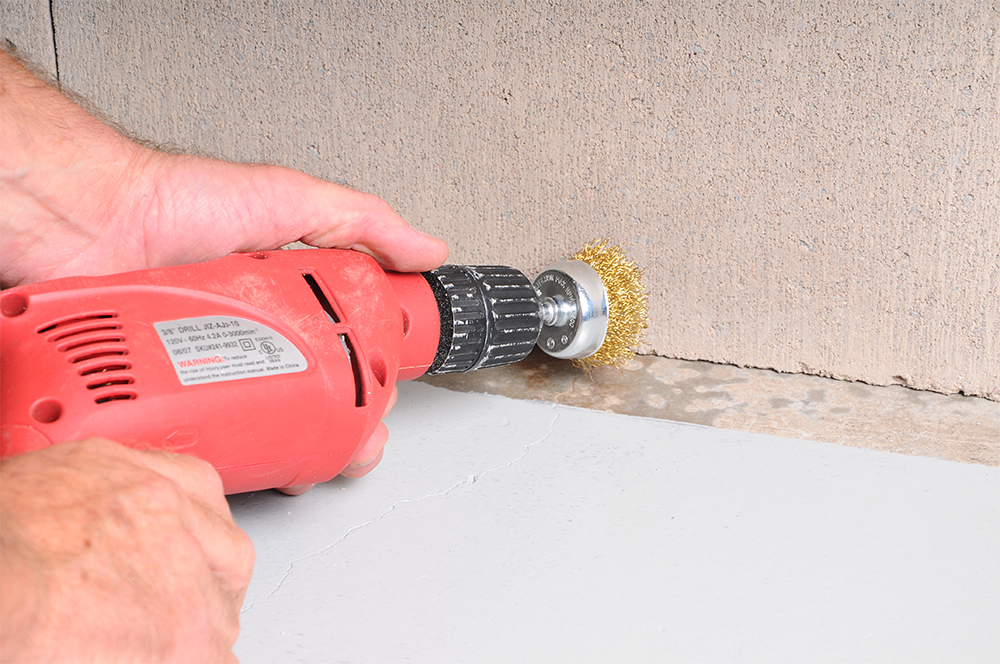
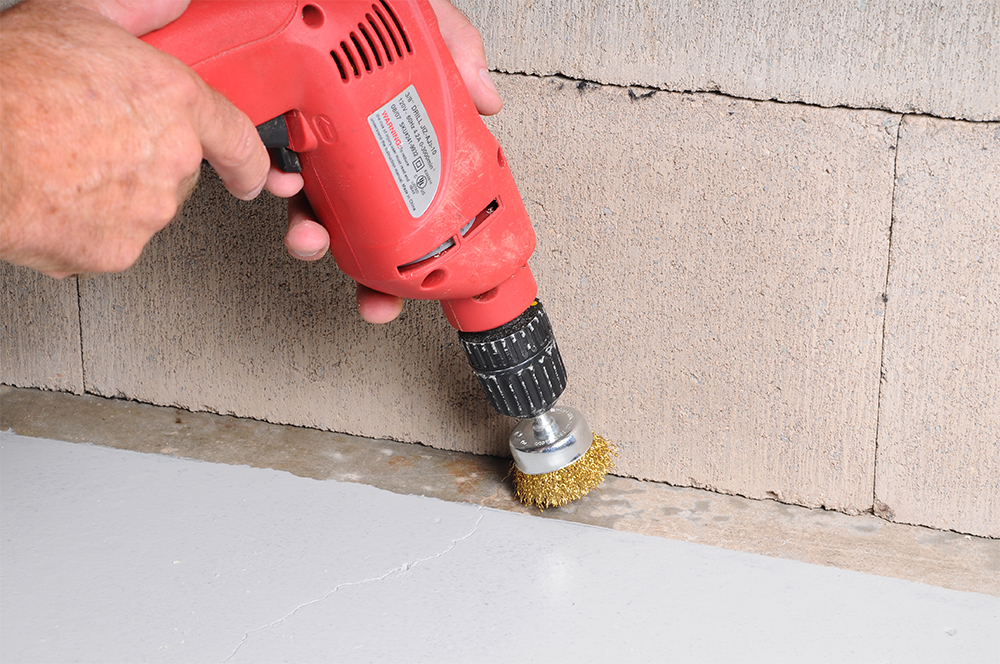
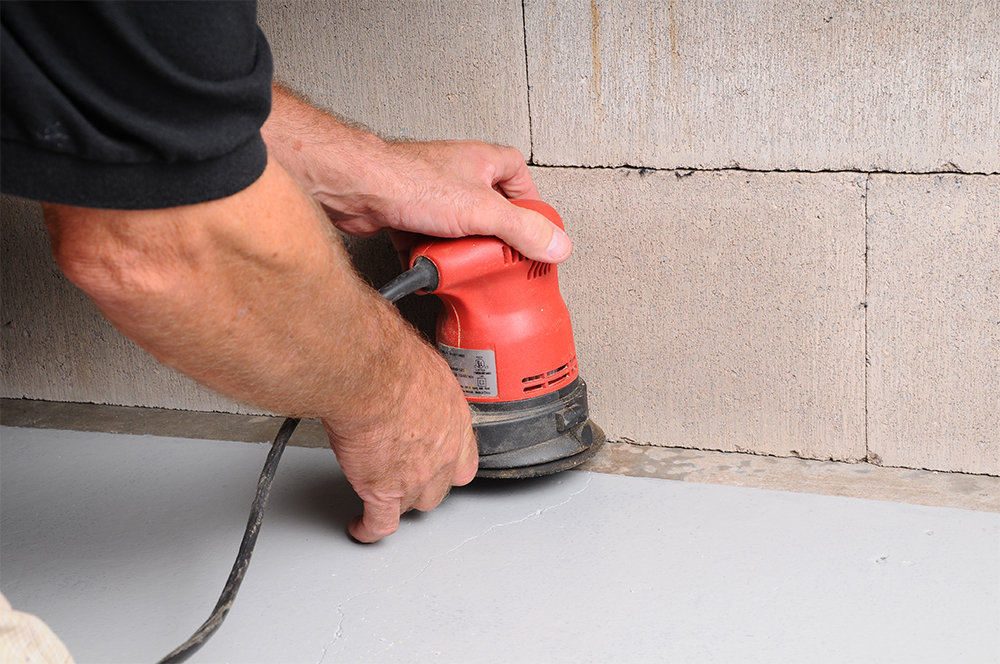
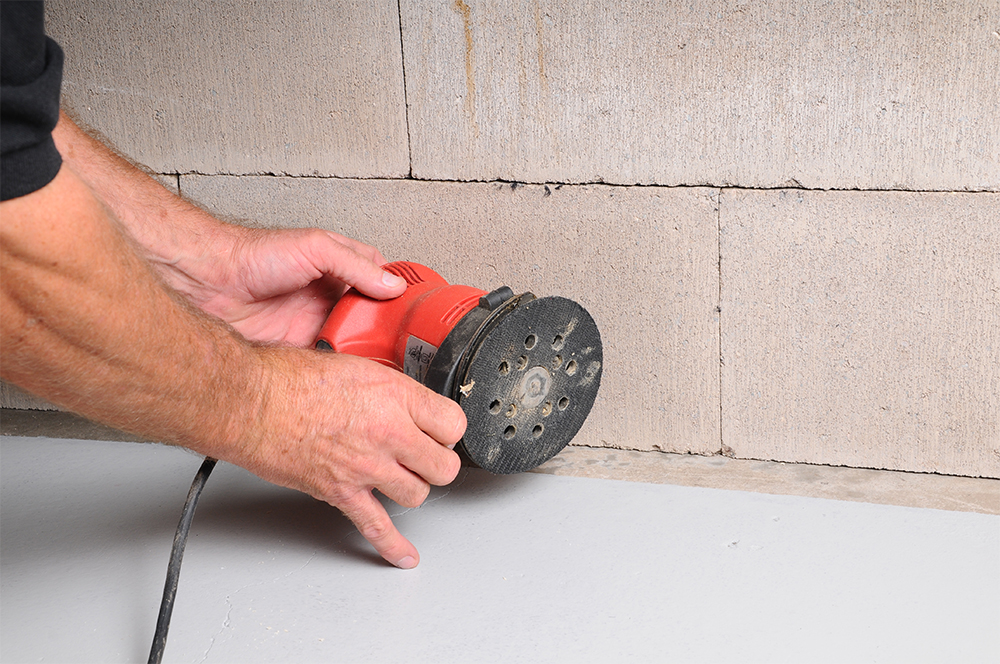
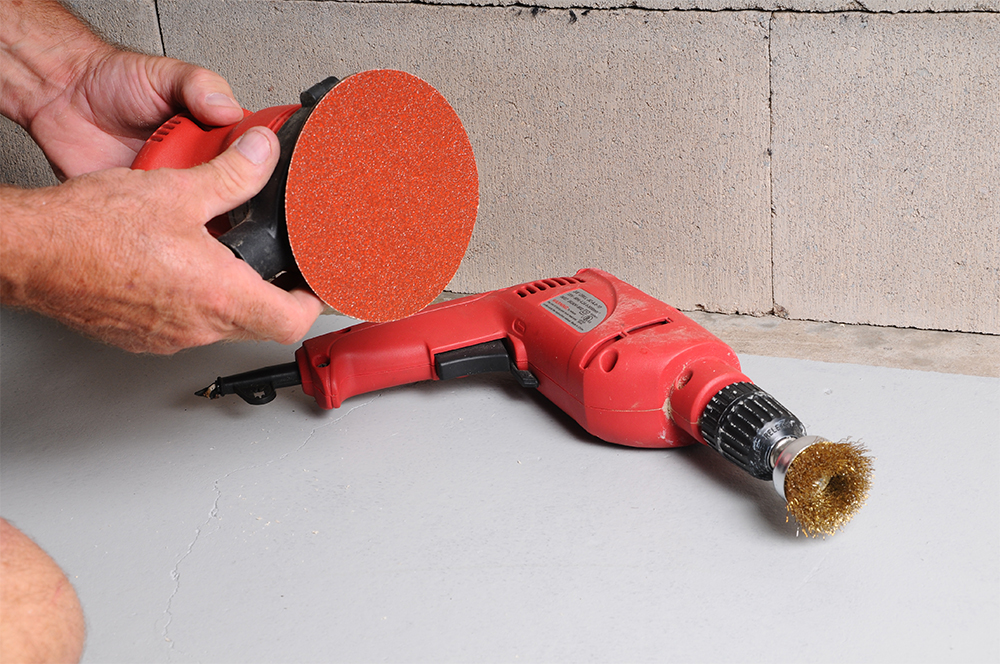
To properly bond and seal the system to the concrete floor, the floor area along the wall (approx. 3″ wide) must be stripped to bare concrete. To remove all paint or tile adhesive, use a 3M metal paint stripper-wheel with your electric drill.
Step 3.1
Step 3.2
Step 3.3
Step 3.4
Step 3.5
Step 4 : Clean the Surface
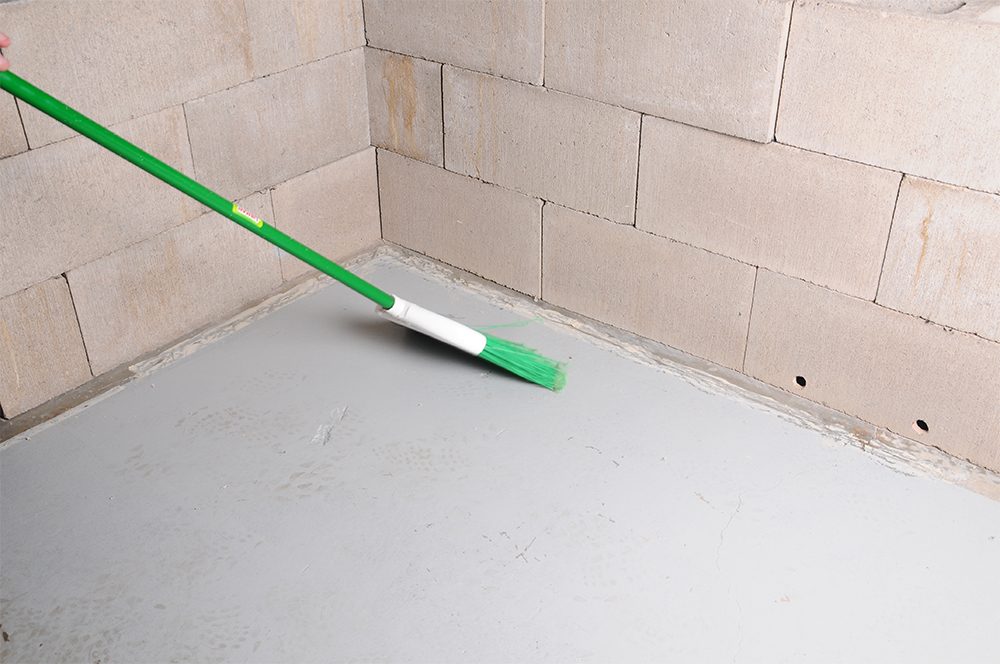
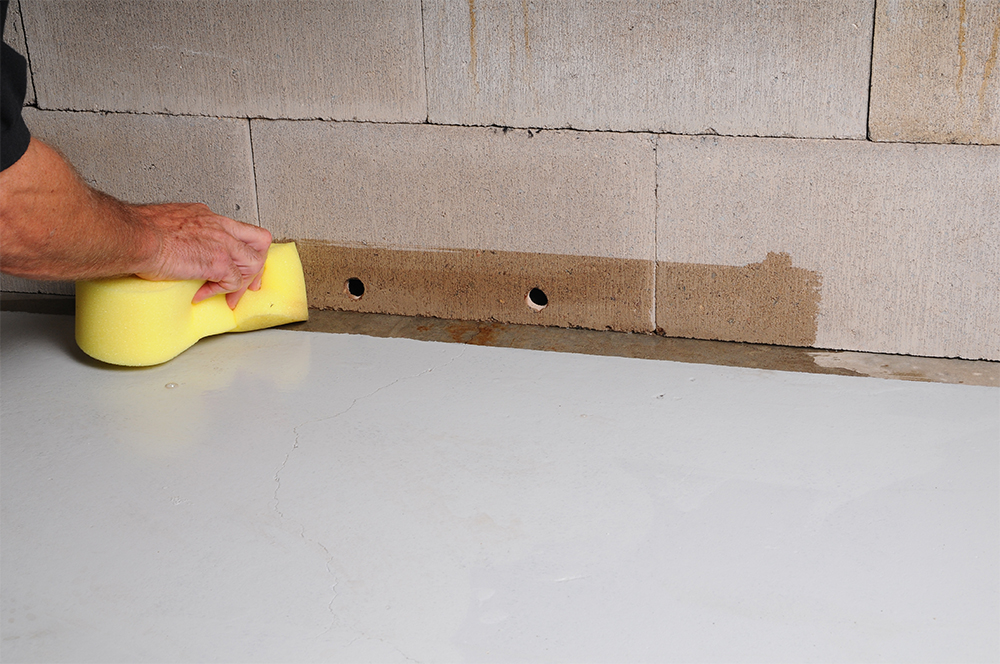
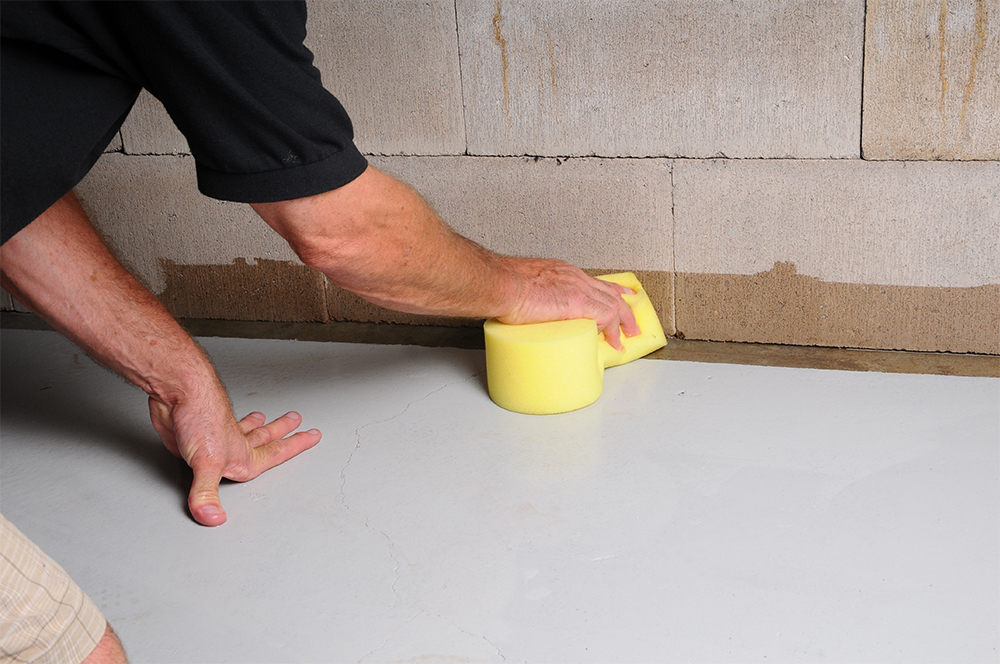
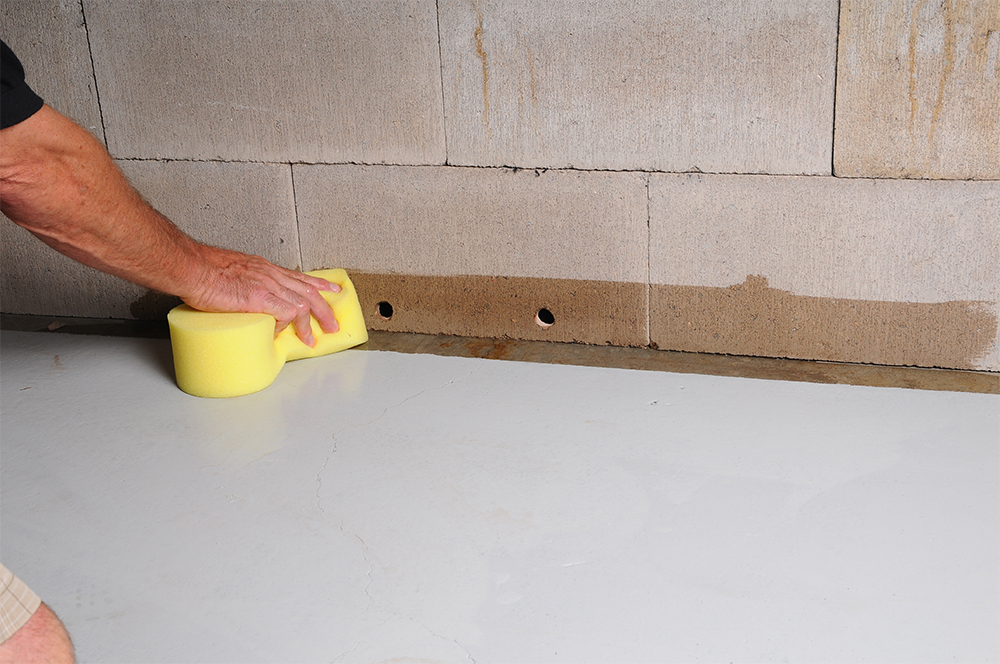
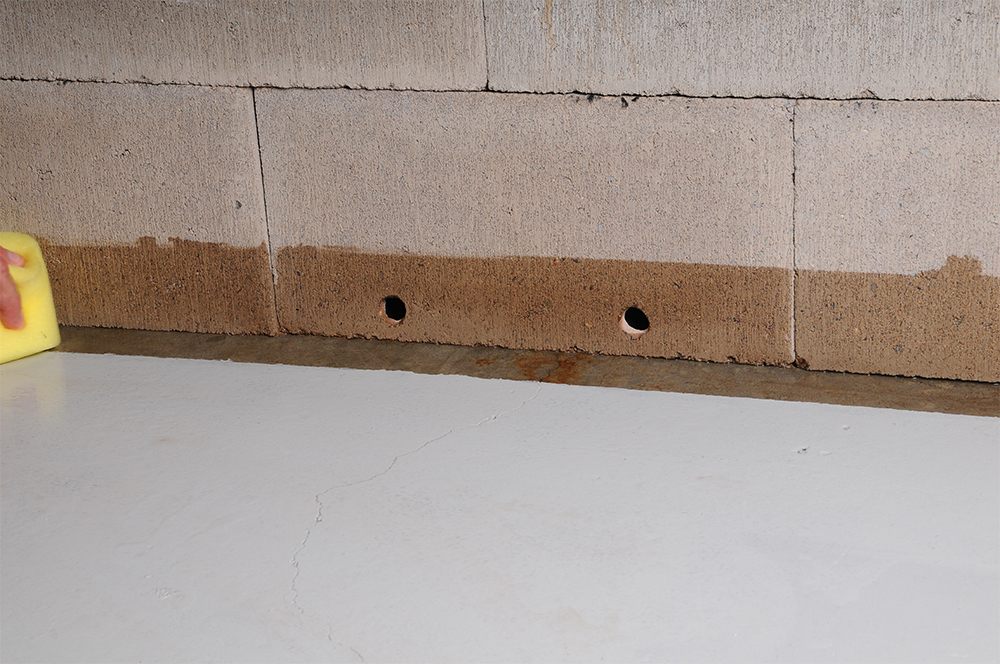
It’s very important that you do this step properly. After the floor area has been stripped, wash with clear water and sponge to remove all dirt and dust. When finished feel the area with your fingers for any loose grit left behind.
Step 4.1
Step 4.2
Step 4.3
Step 4.4
Step 4.5
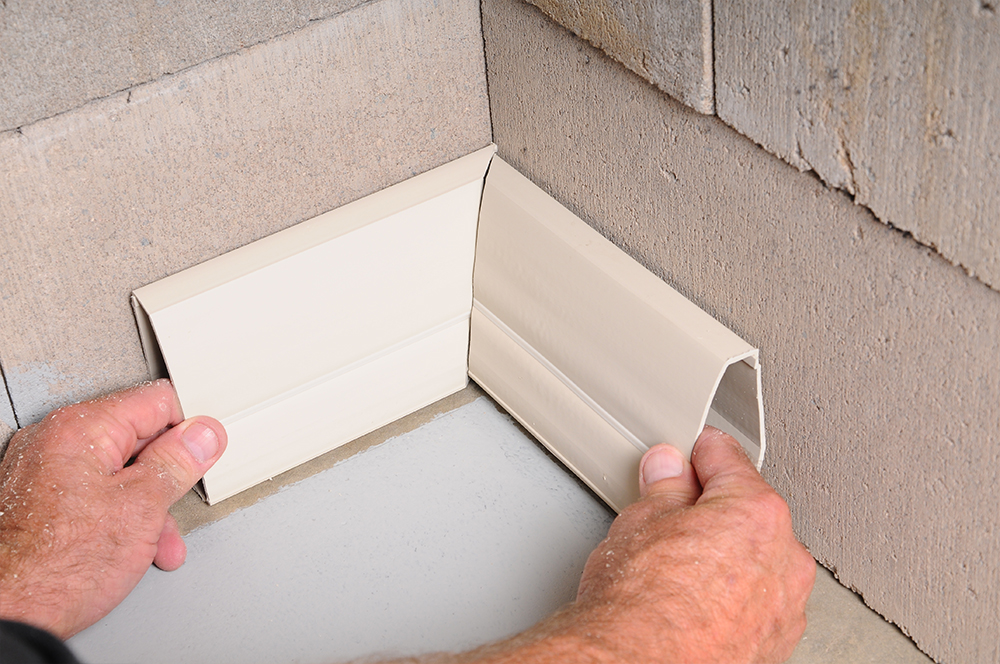
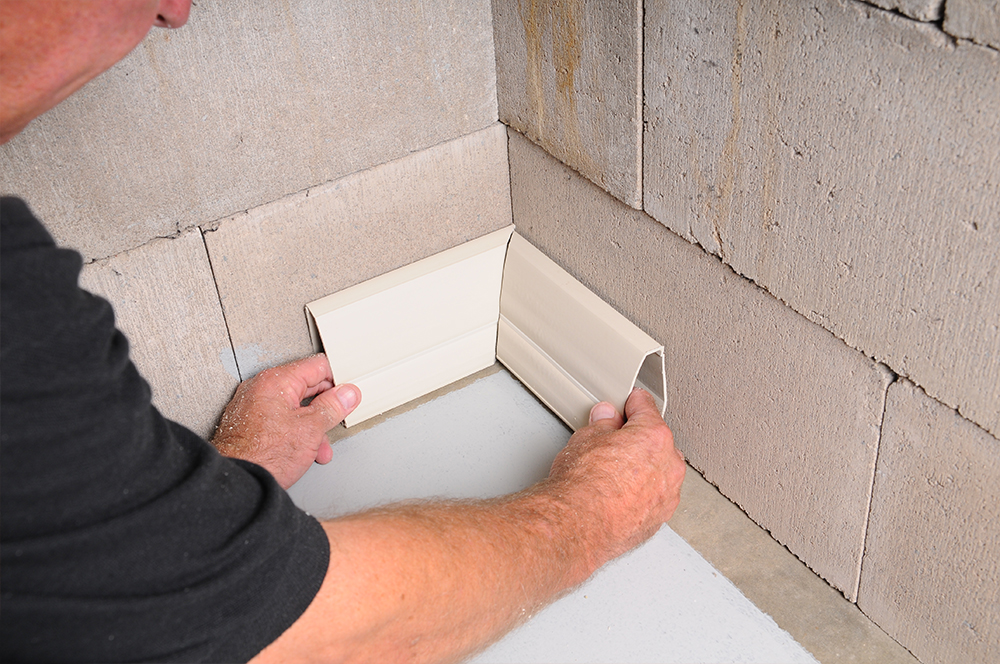
Step 5 : Placement of Corners
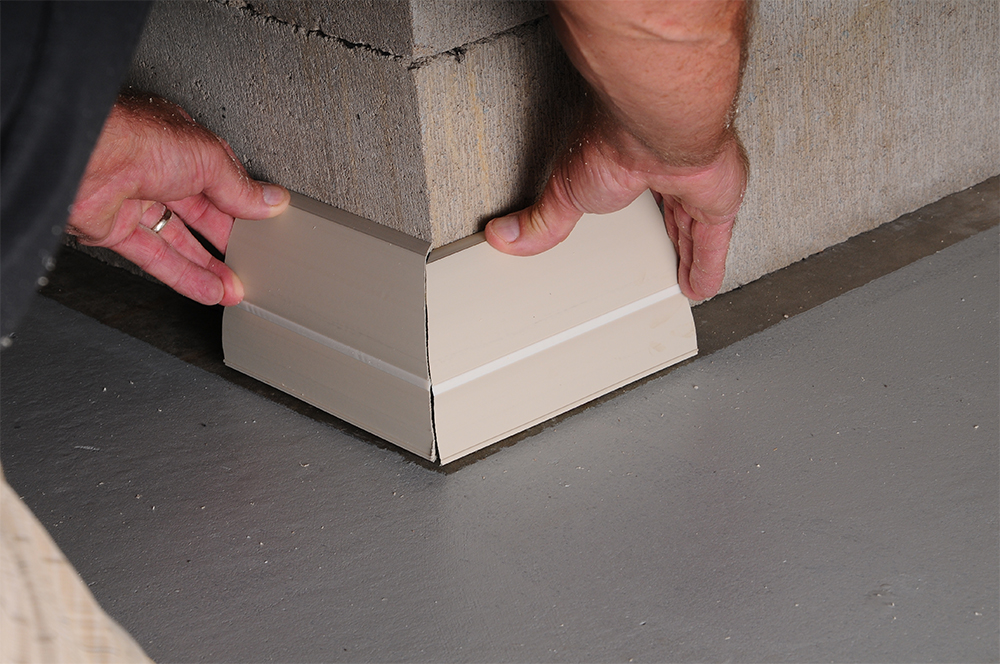
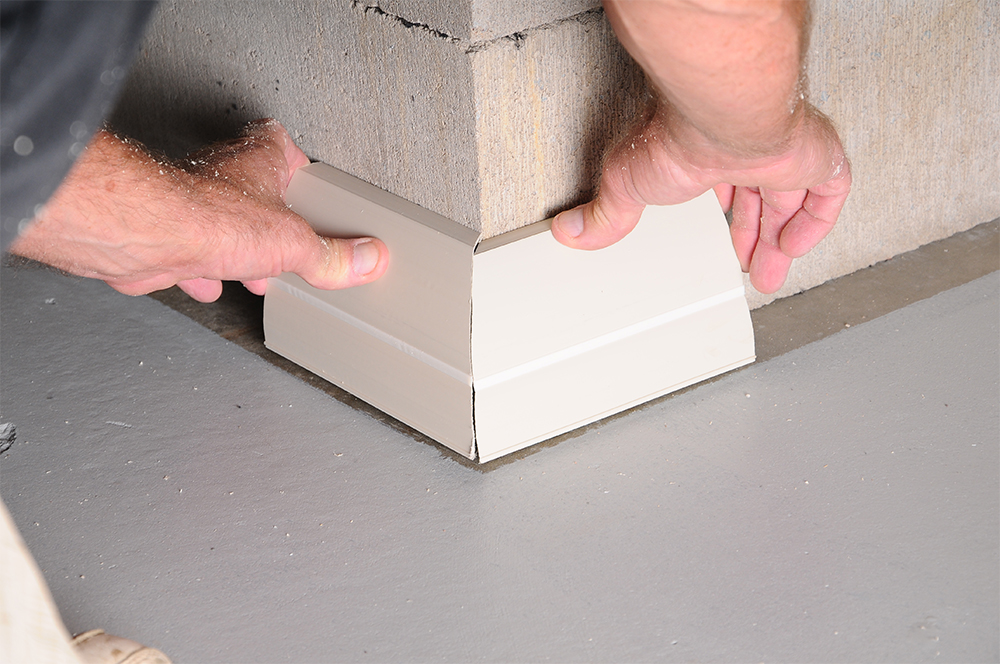
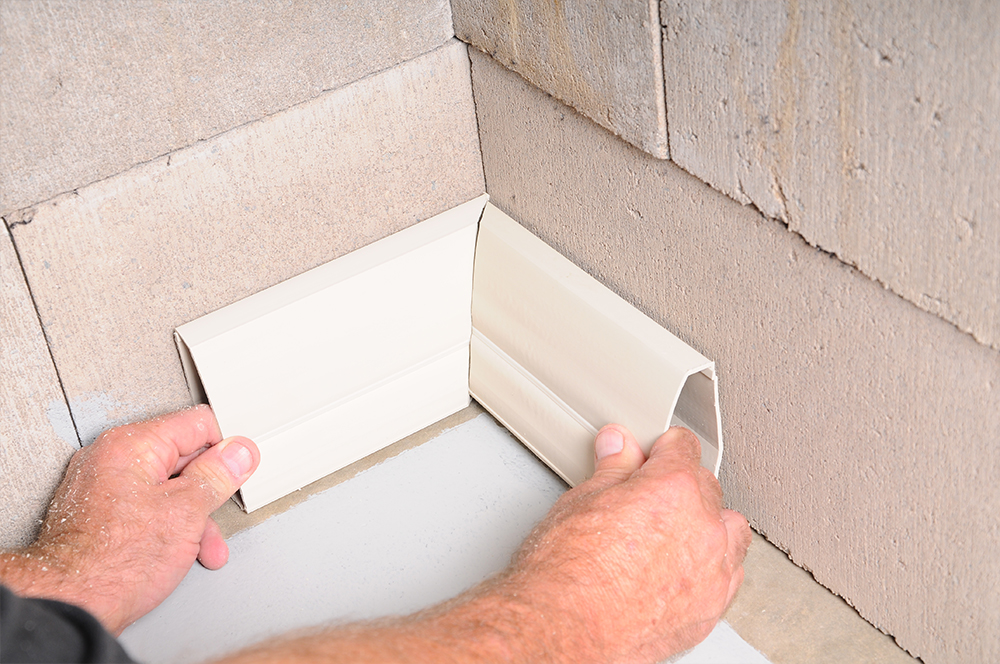
Begin by placing pre-mitered corner sections in all corners. Mitered joints should have little or no gap.
Step 5.1
Step 5.2
Step 5.3
Step 5.4
Step 5.5
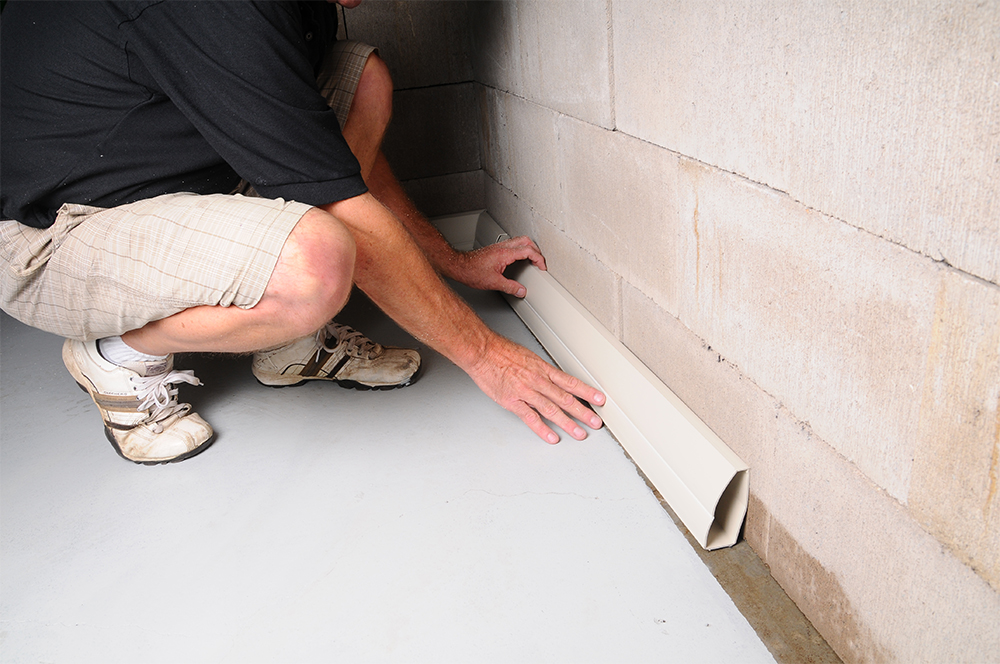
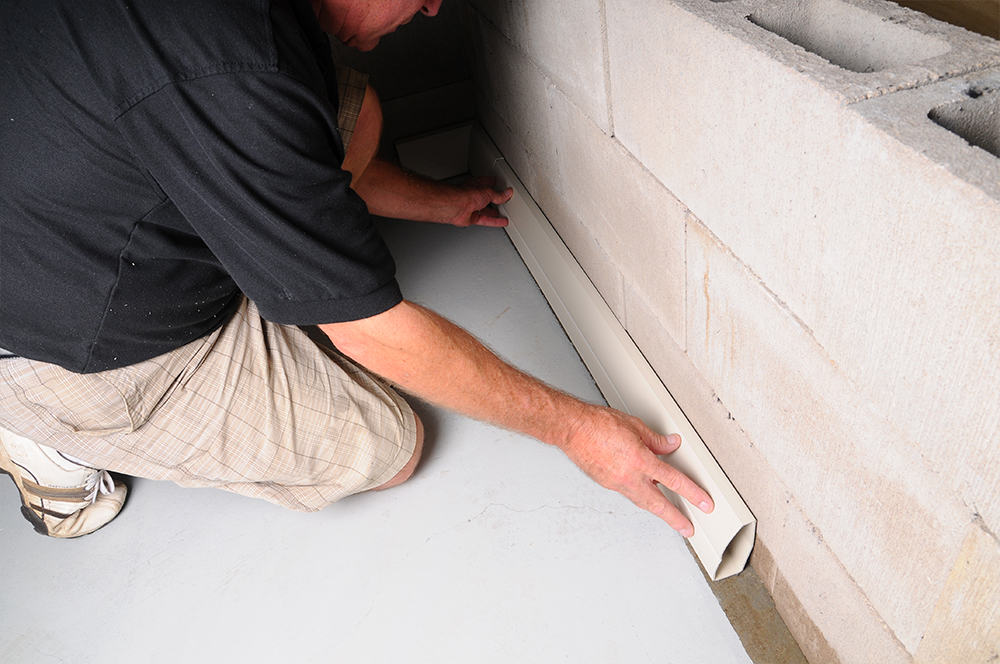
Step 6 : Cut, Fit & Layout the Baseboard Sections
Cut and trial-fit the baseboard along the walls between the corner sections. Use tin snips or a hack saw to cut the sections as needed.
Step 6.1
Step 6.2
Step 7 : Angle Cut Adhesive
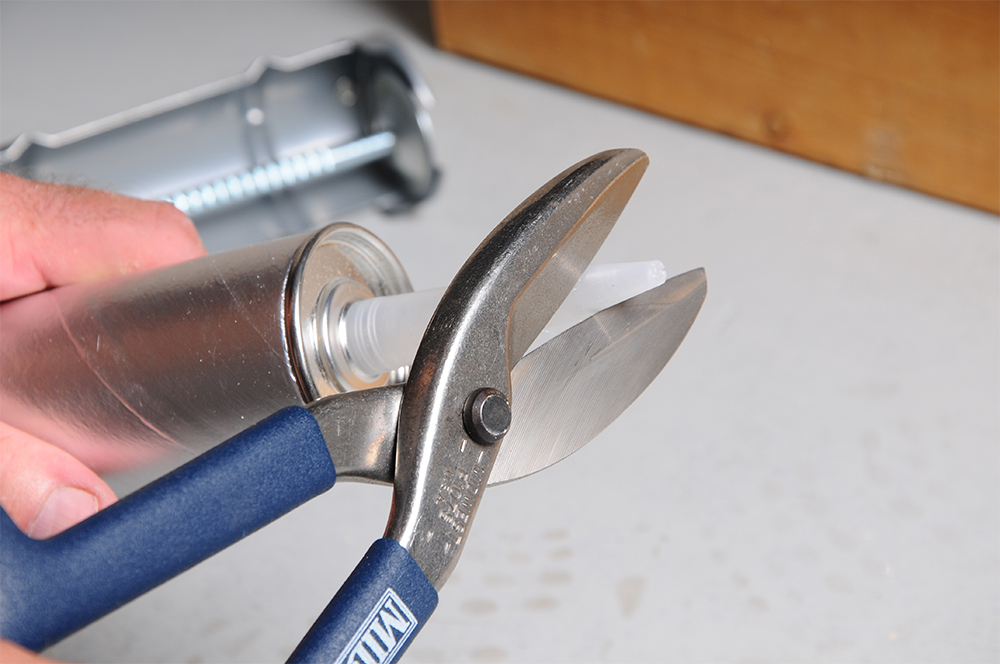
Angle cut the tip on the nozzle of the 10 ounce tube of adhesive just under the cone shaped end. This should provide an opening capable of extruding a ½” to 5/8″ bead necessary for applying to all surfaces.
Step 7.1
Step 8 : Apply the Adhesive
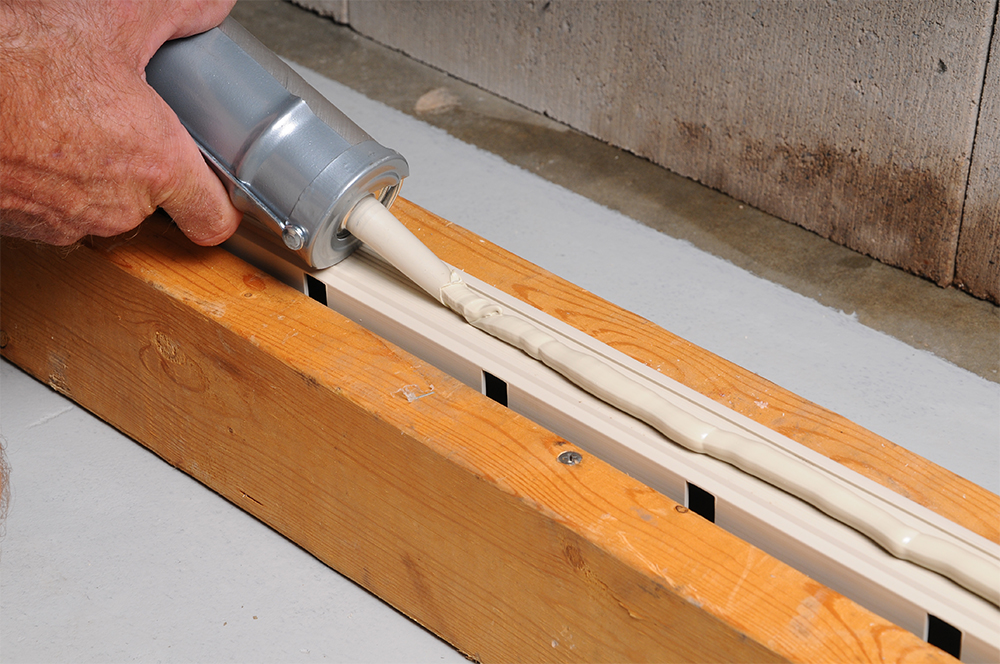
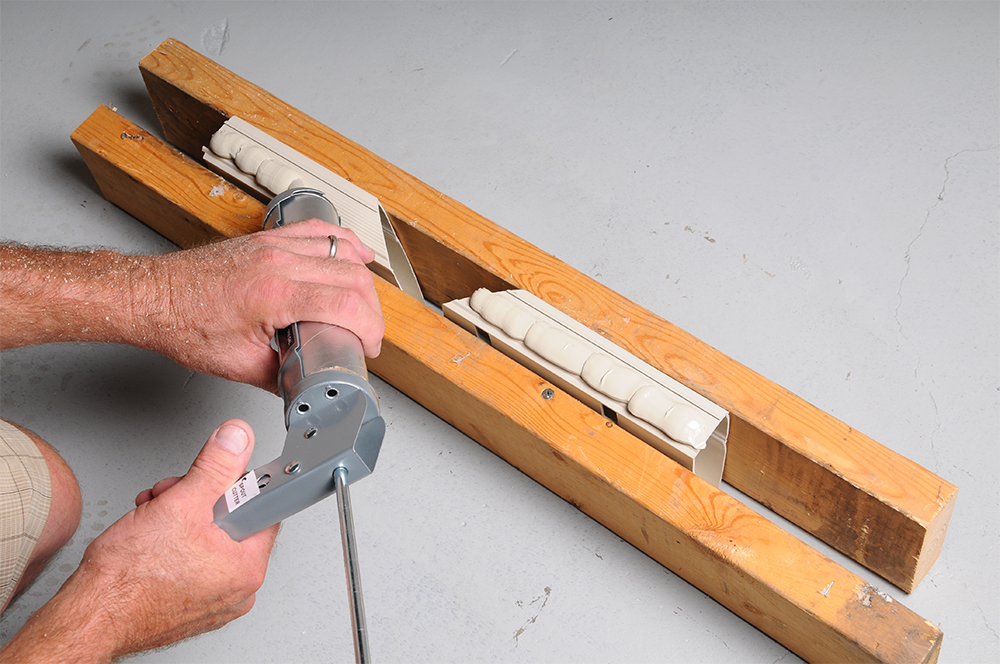
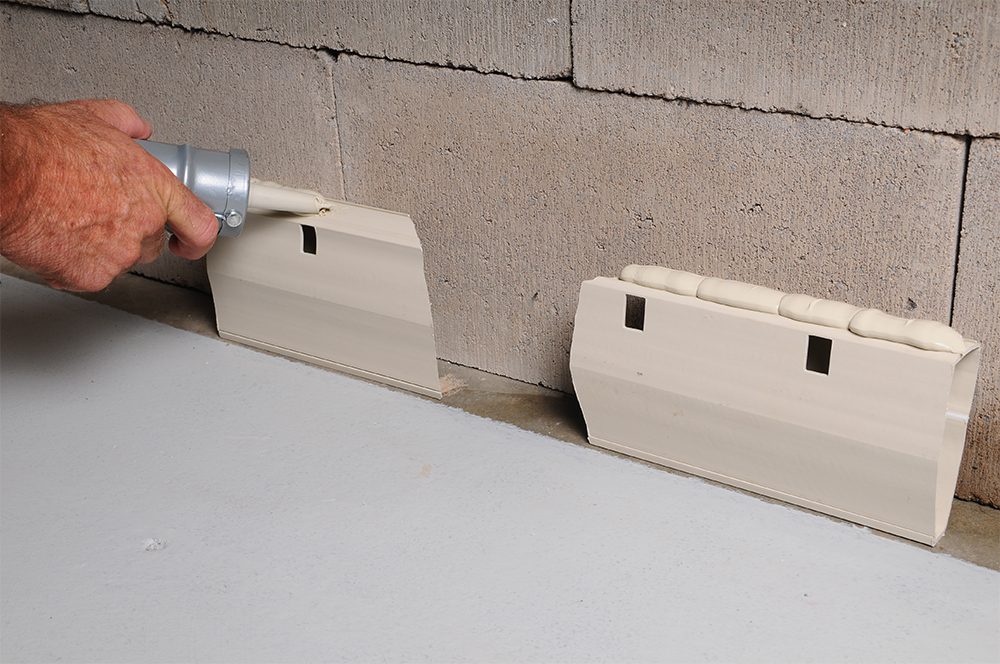
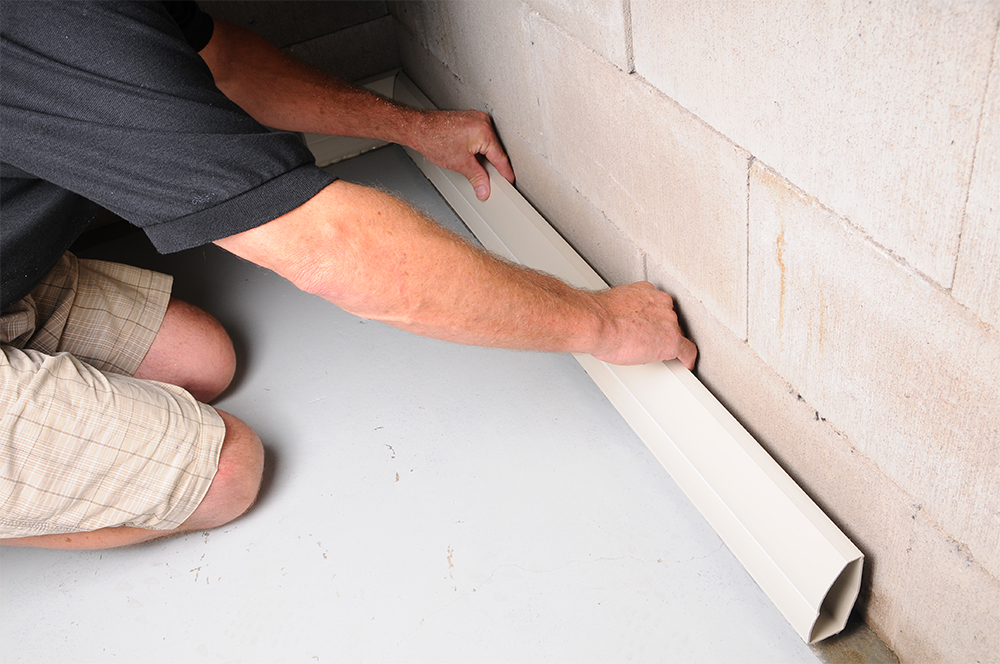
Turn a main section of baseboard over and apply a heavy bead (½” – 5/8″) to the bottom. Turn baseboard over and set in place … press gently. DO NOT PRESS DOWN HARD! The bottom of the baseboard will be approximately 1/4″ away from the wall.
Step 8.1
Step 8.2
Step 8.3
Step 8.4
Step 8.5
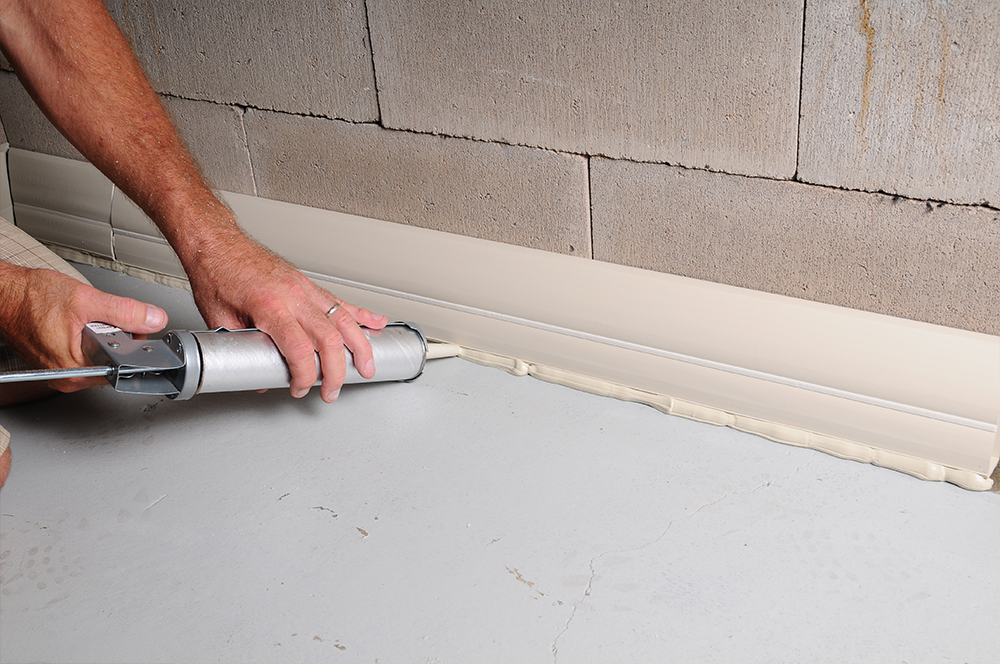
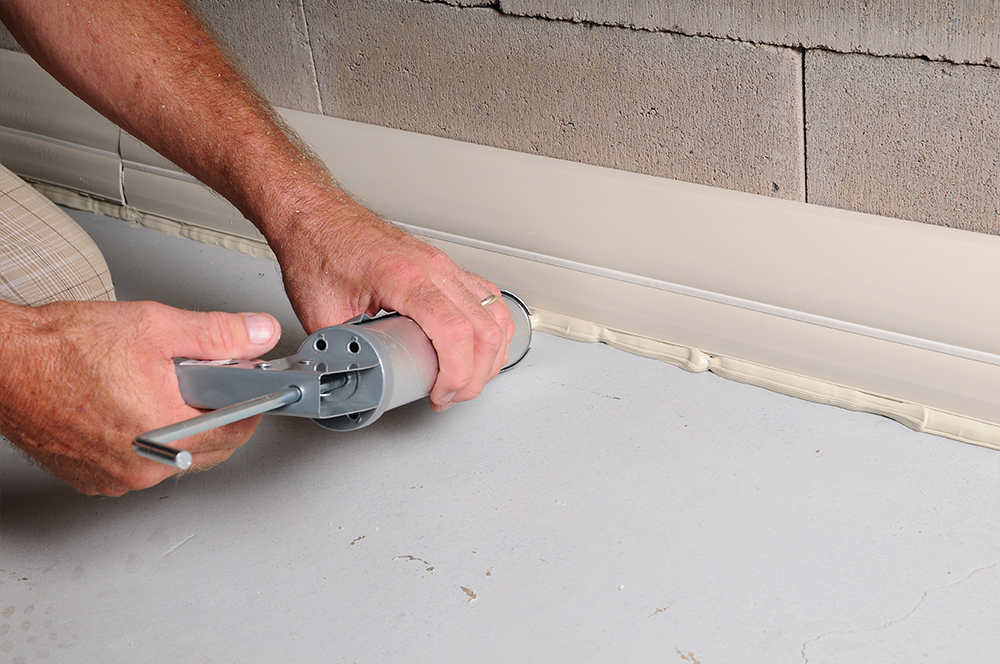
Step 9 : Caulk the Floor Joint
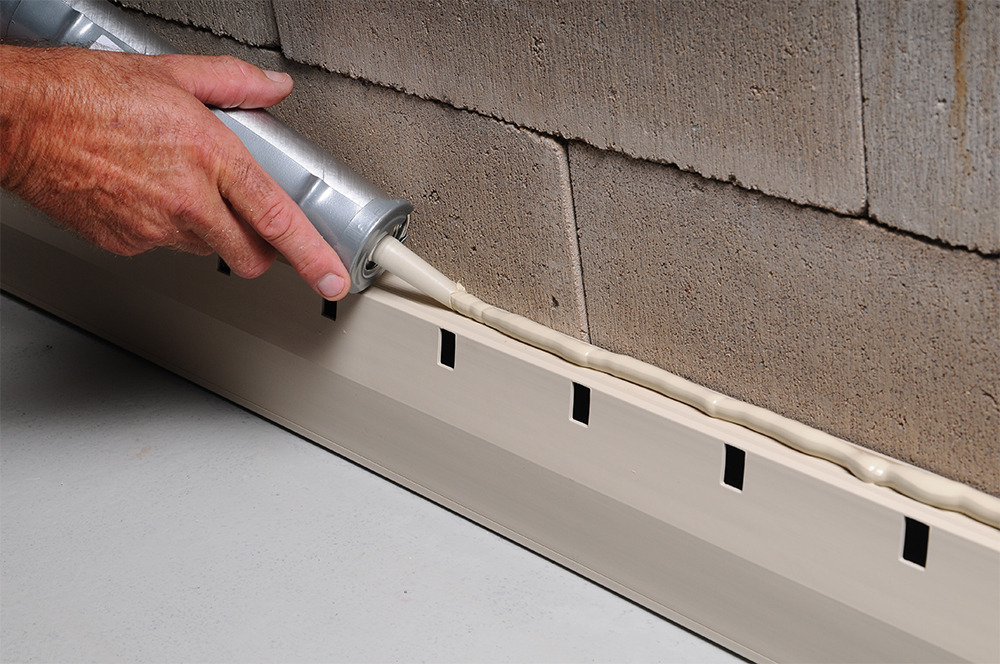
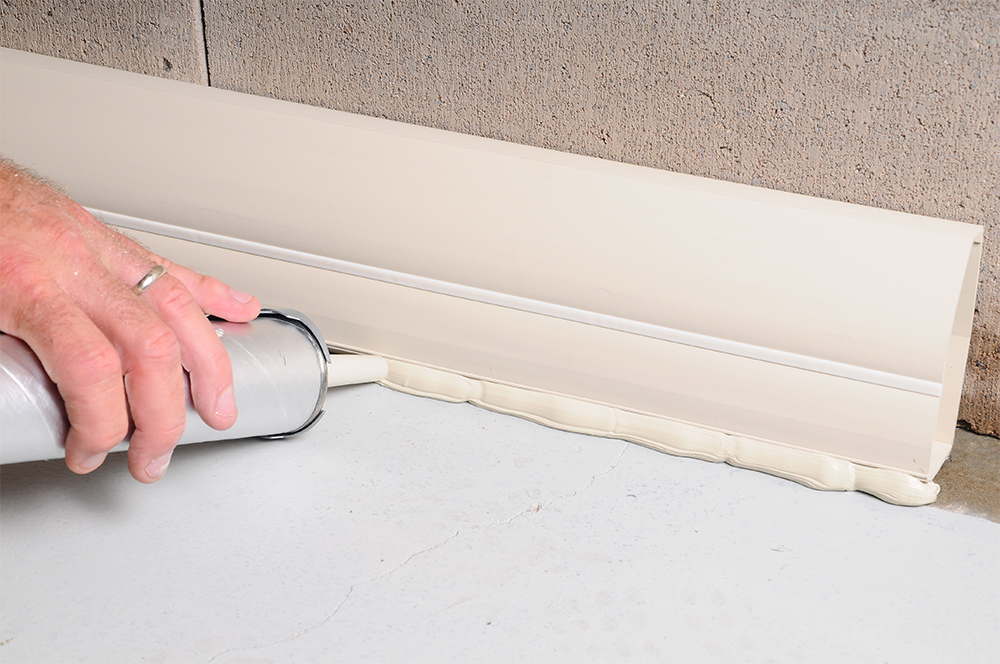
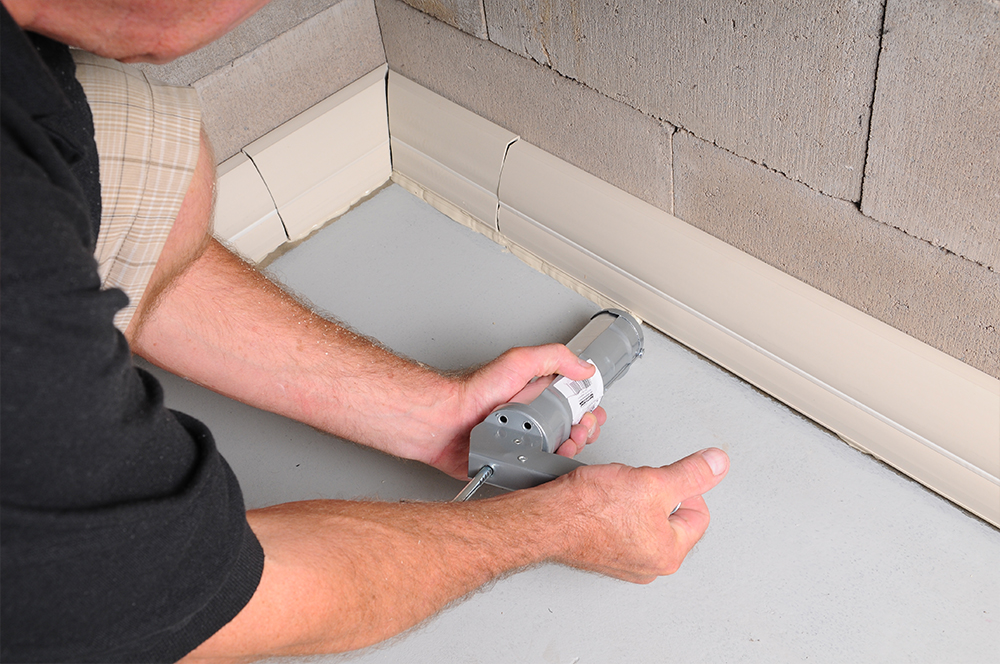
Caulk the floor joint with enough pressure to force some adhesive under the system.
Step 9.1
Step 9.2
Step 9.3
Step 9.4
Step 9.5
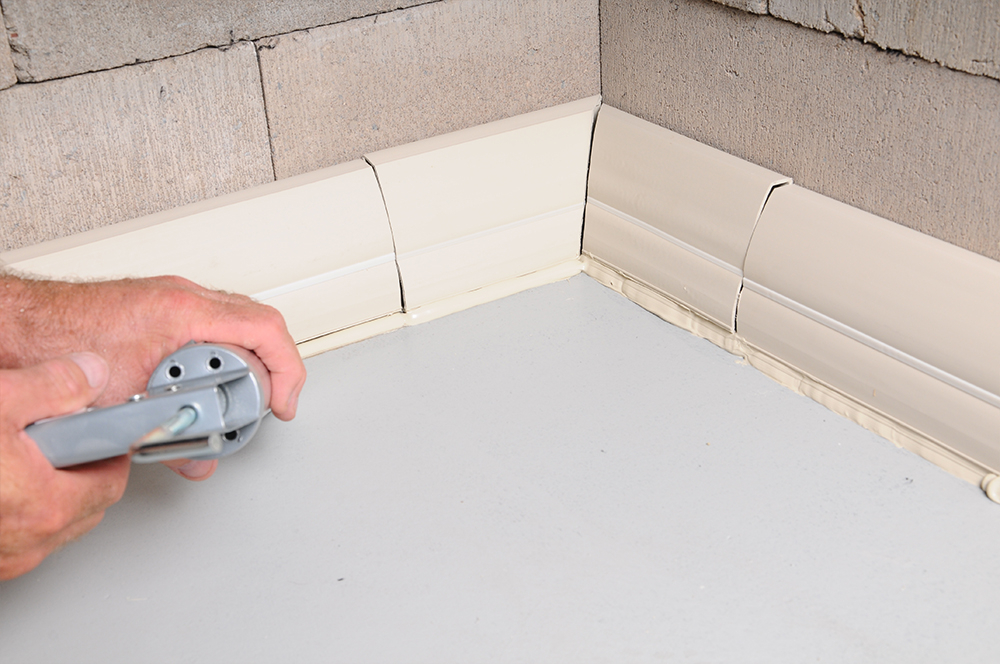
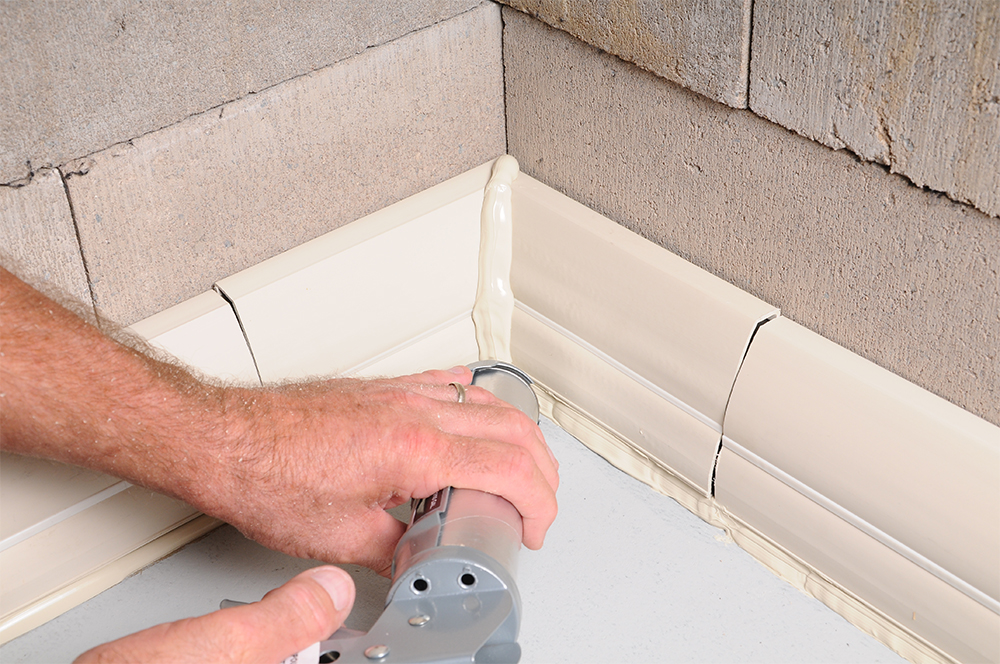
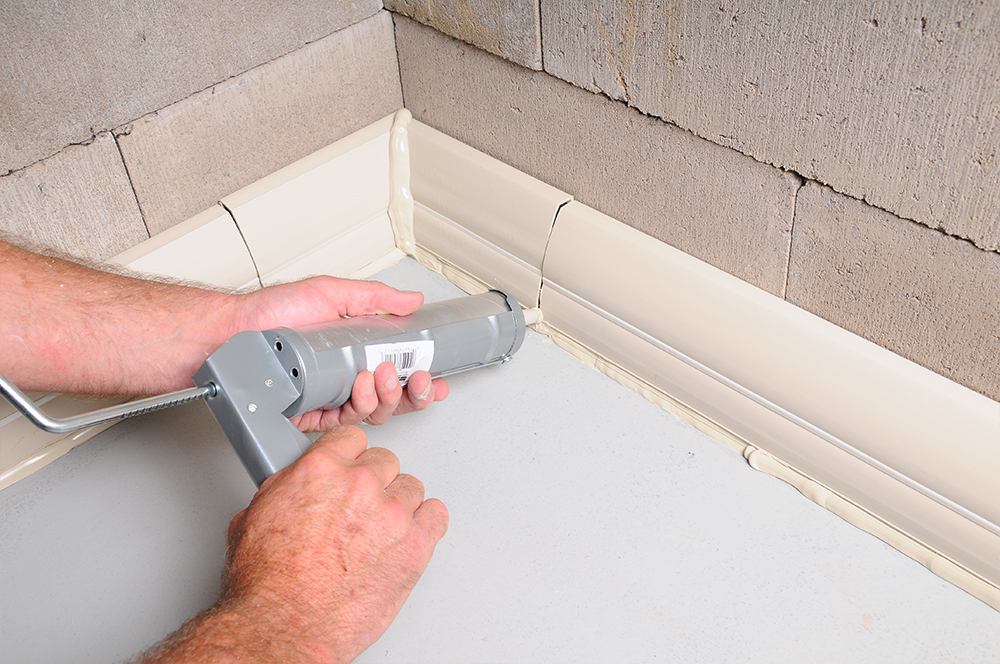
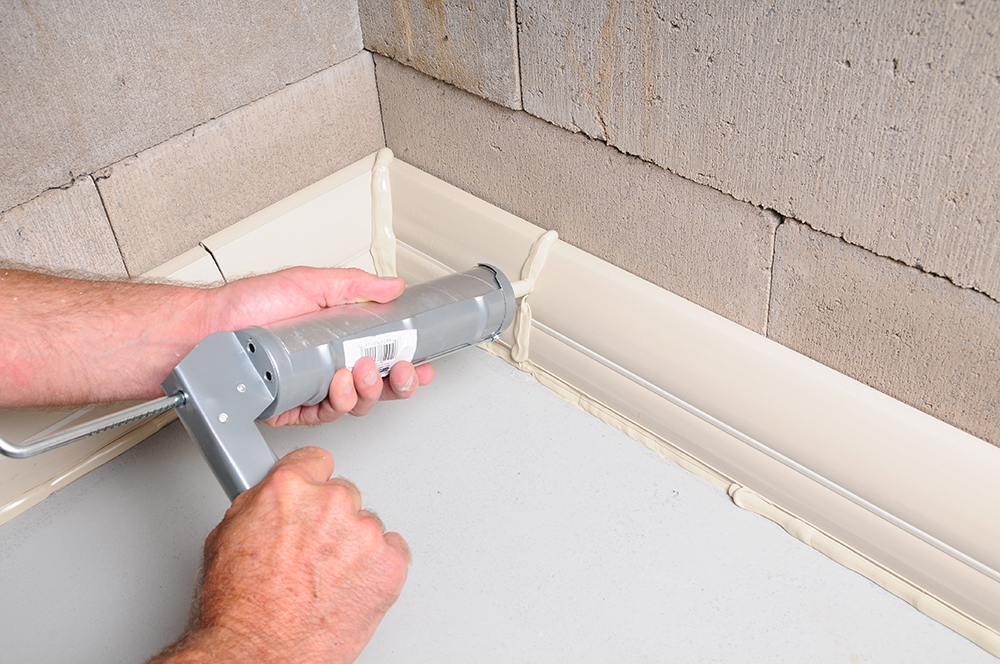
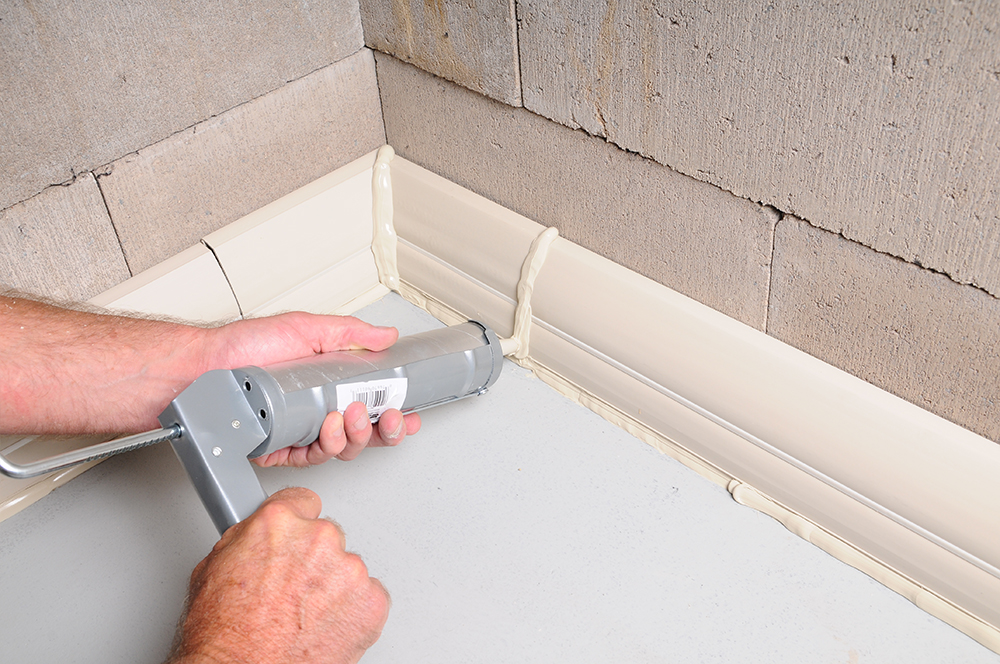
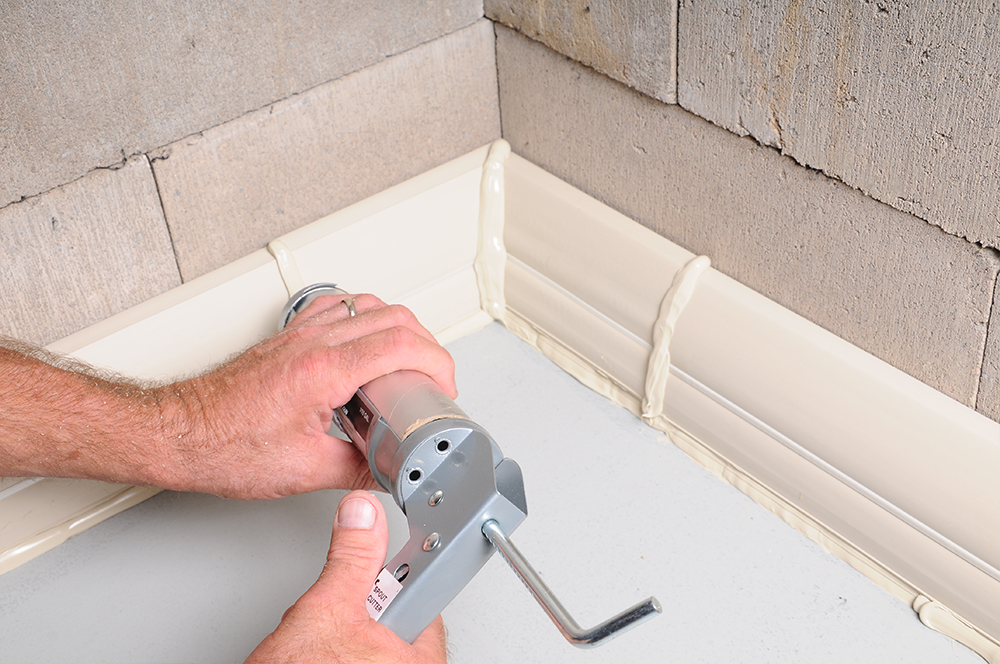
Step 10 : Caulk the Corners and Joining Pieces
Caulk the corners and joining pieces with a heavy bead of adhesive to completely cover any areas that have connecting pieces.
Step 10.1
Step 10.2
Step 10.3
Step 10.4
Step 10.5
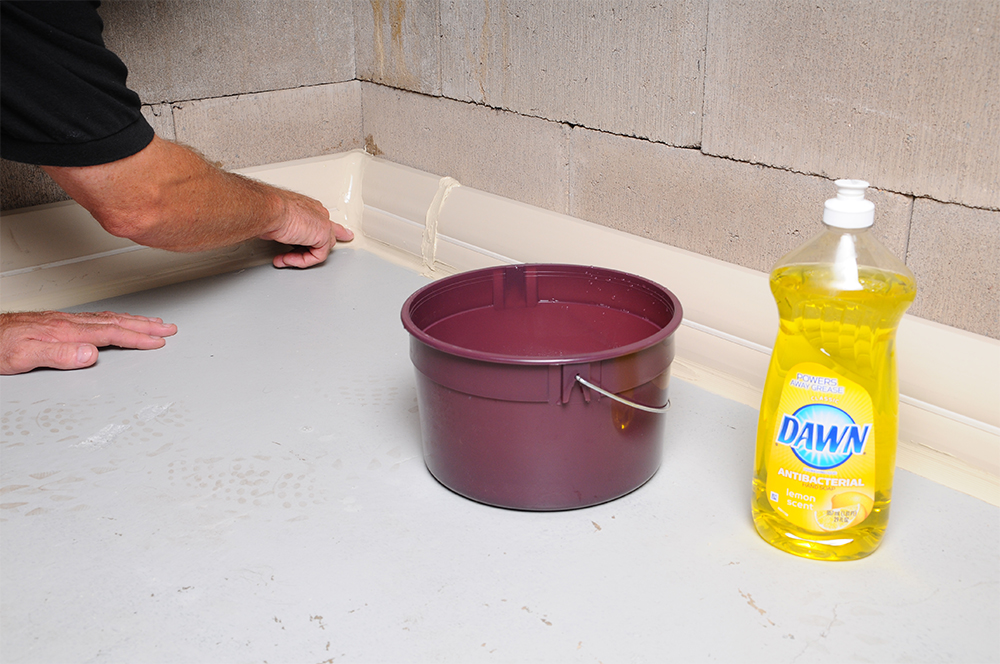
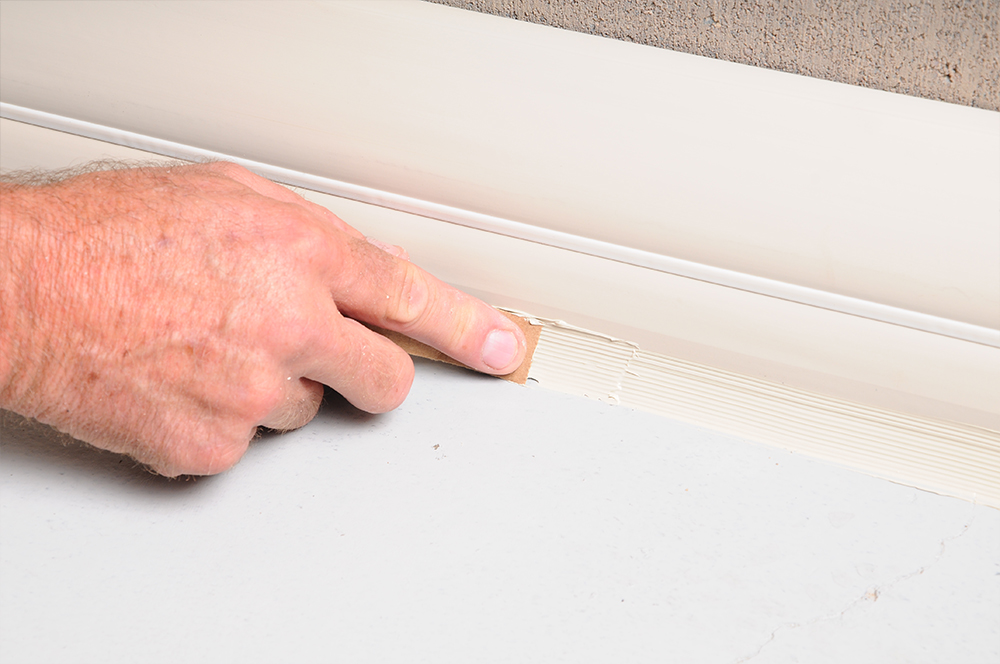
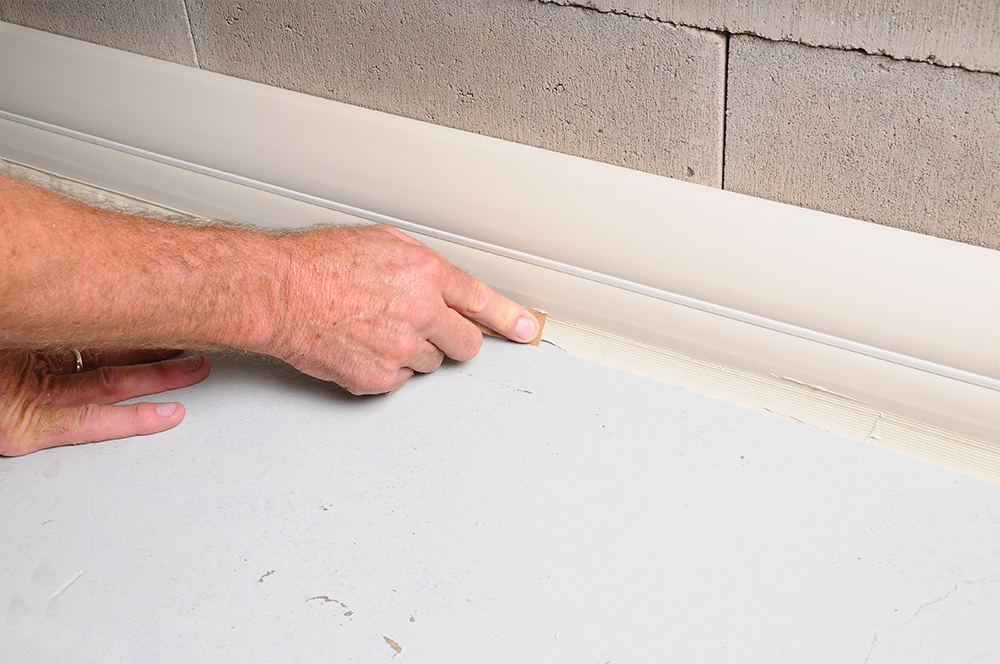
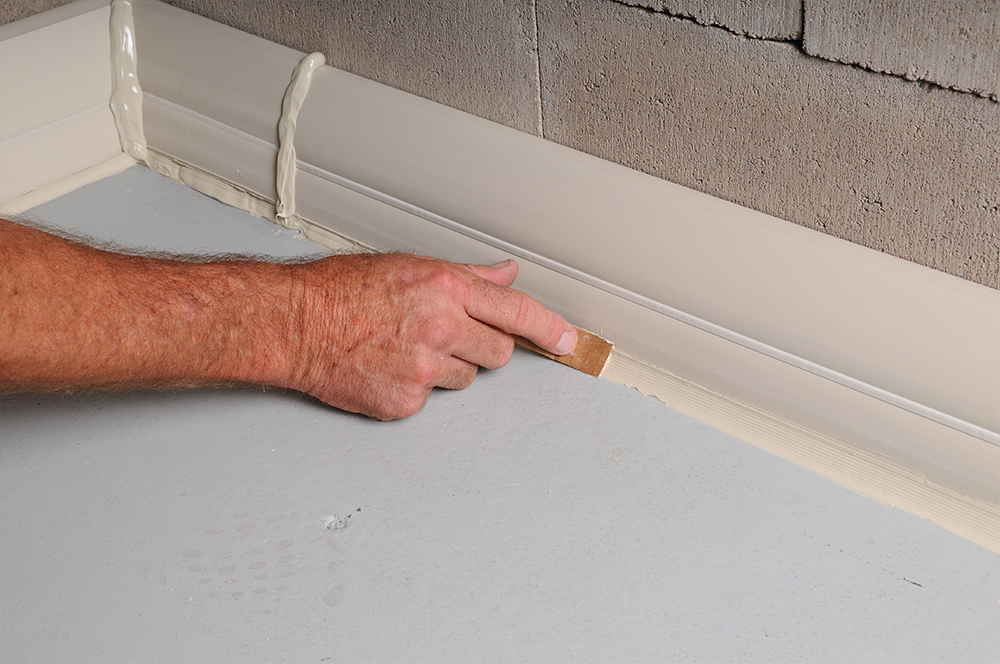
Step 11 : Seal Floor Joints
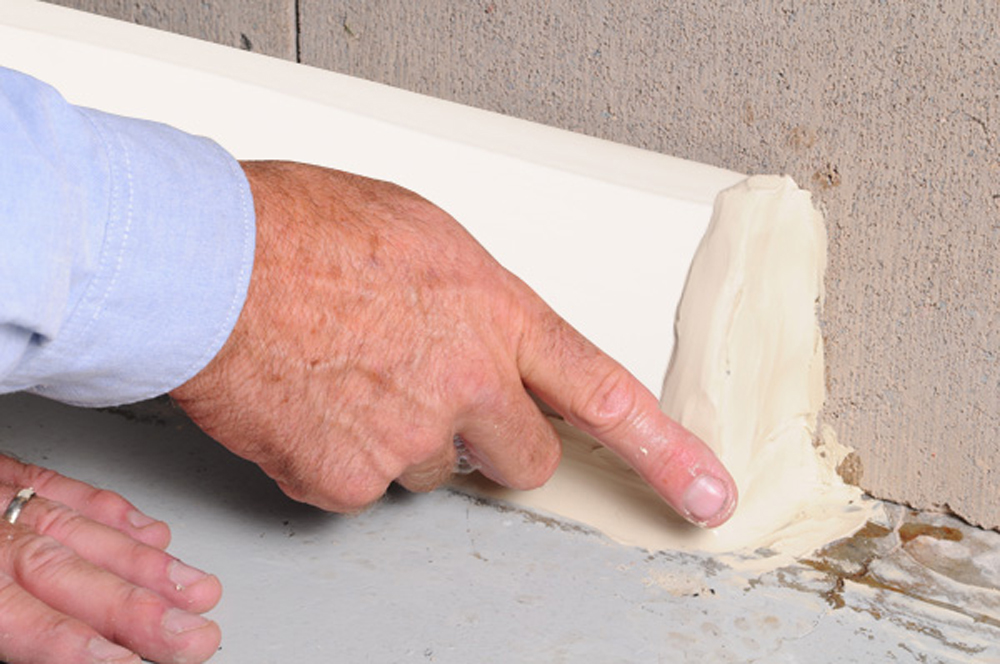
A wet finger works well to smooth out the adhesive.
Step 11.1
Step 11.2
Step 11.3
Step 11.4
Step 11.5
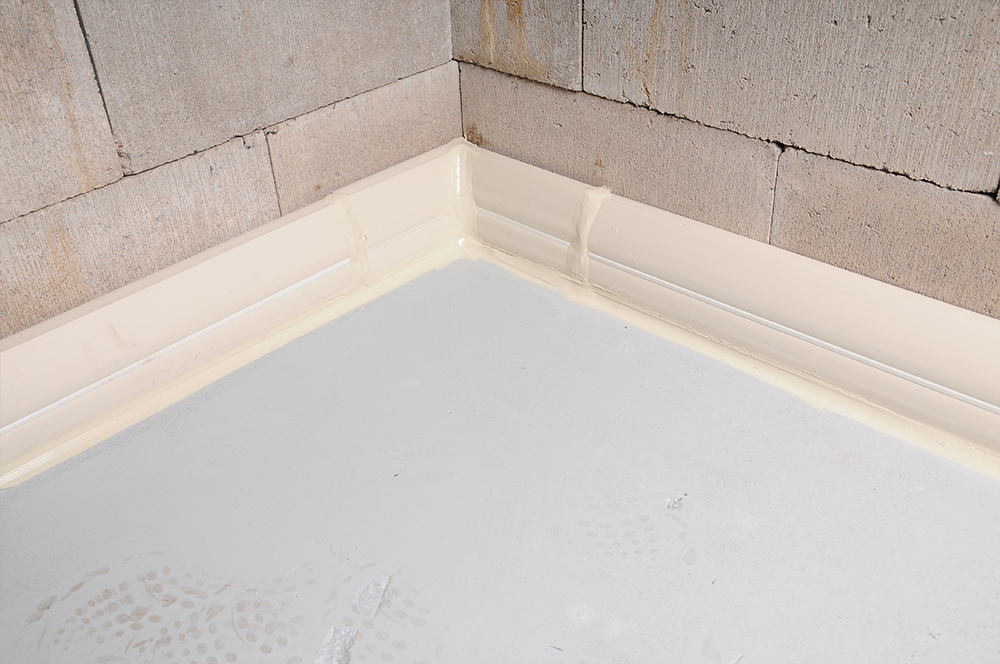
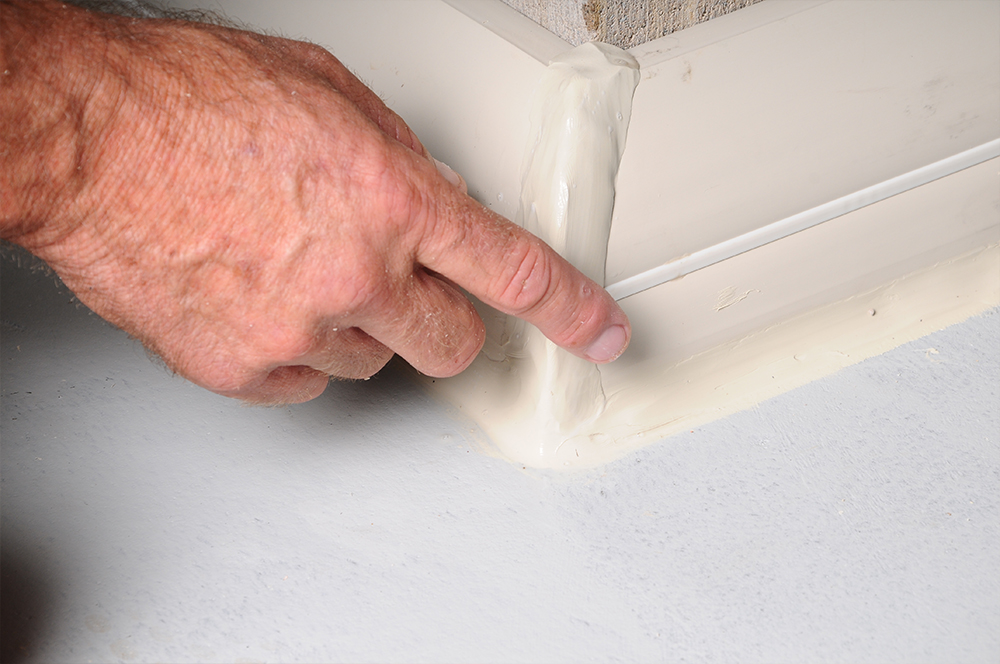
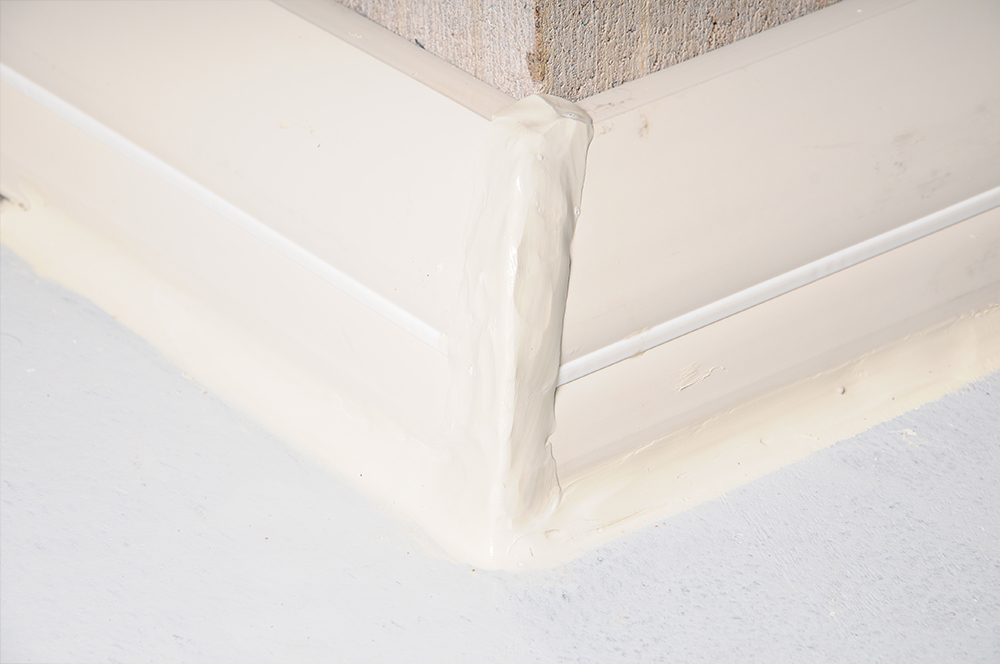
Step 12 : Seal Connecting Pieces and Corners
A wet finger works well to smooth out the adhesive.
Step 12.1
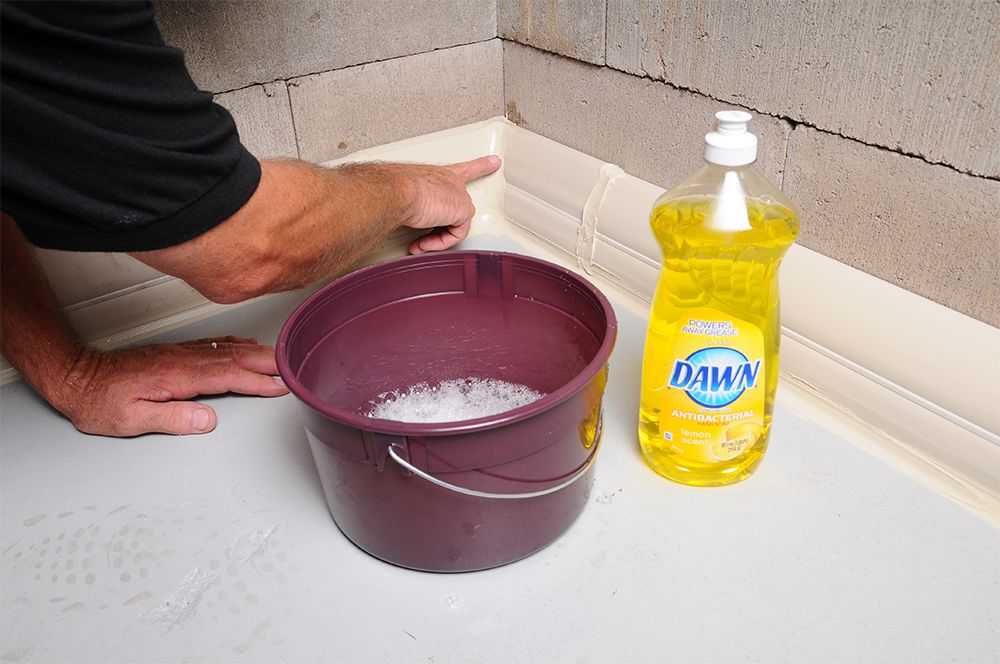
Step 12.2
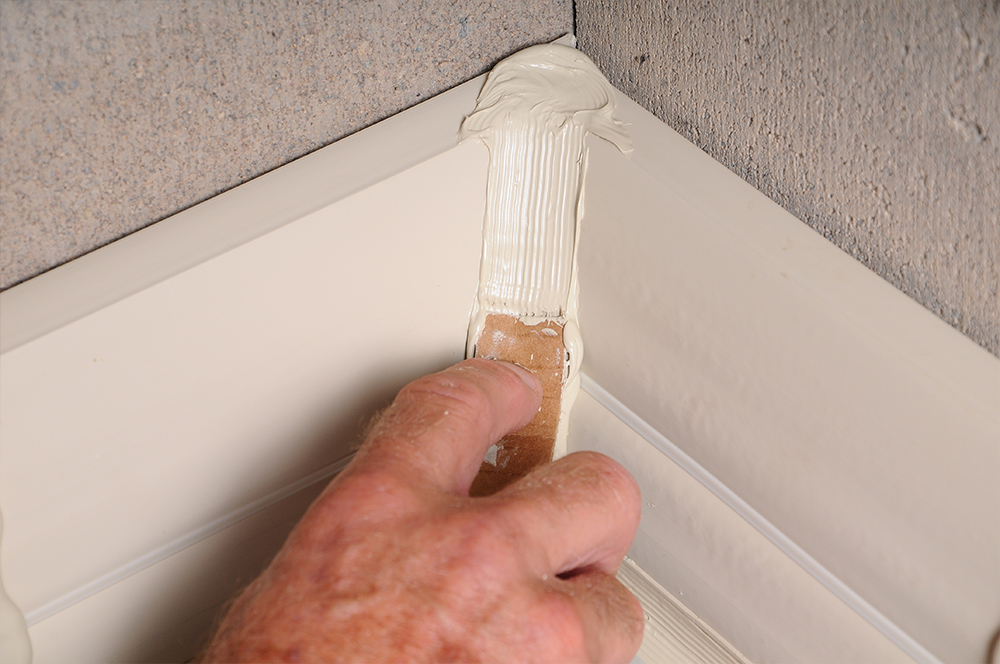
Step 12.3
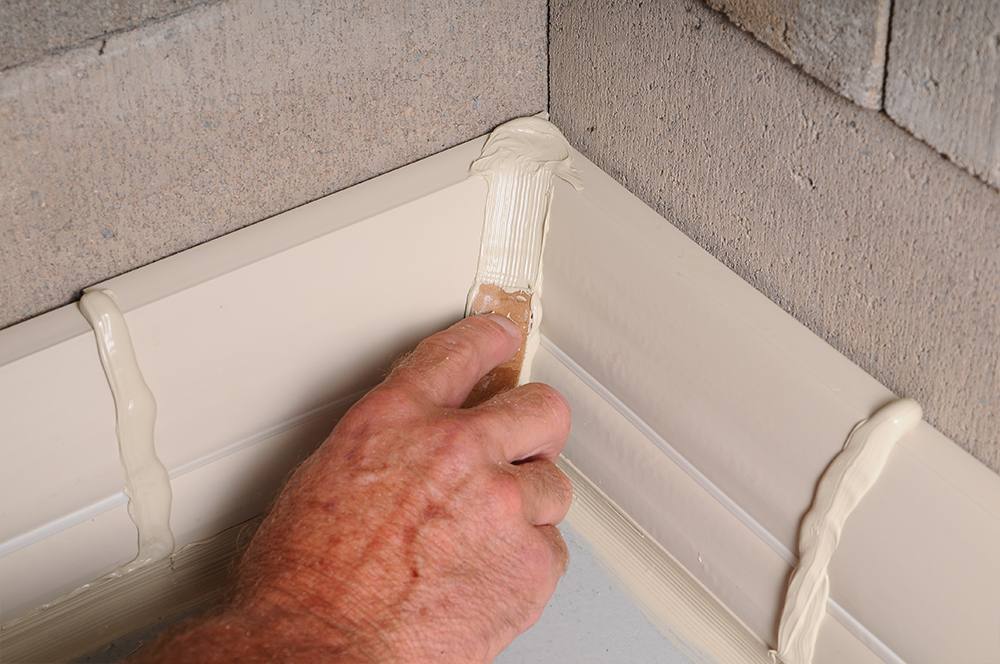
Step 12.4
Step 12.5
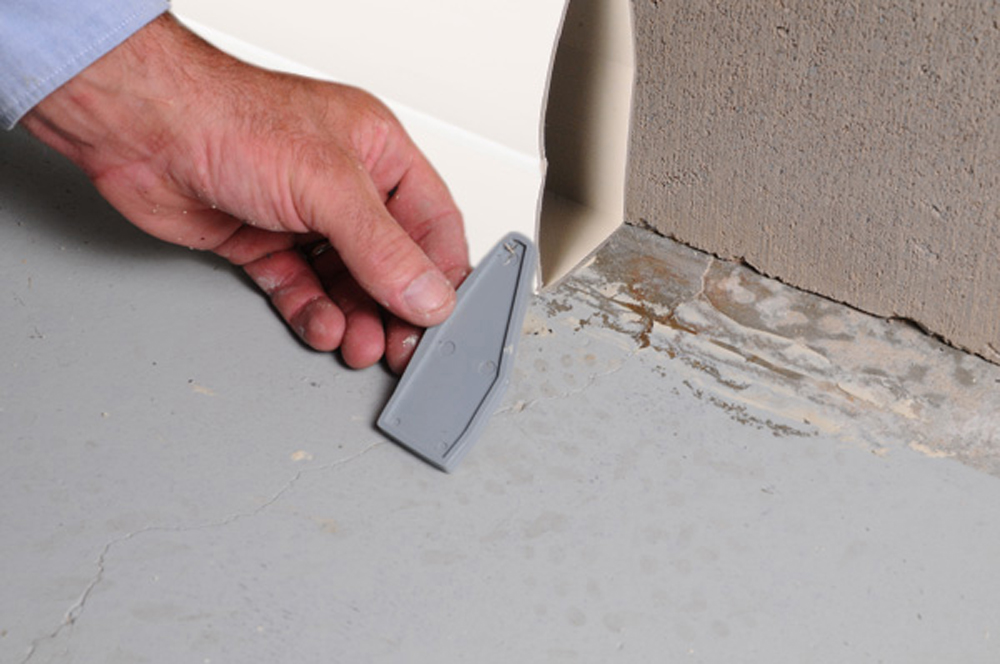
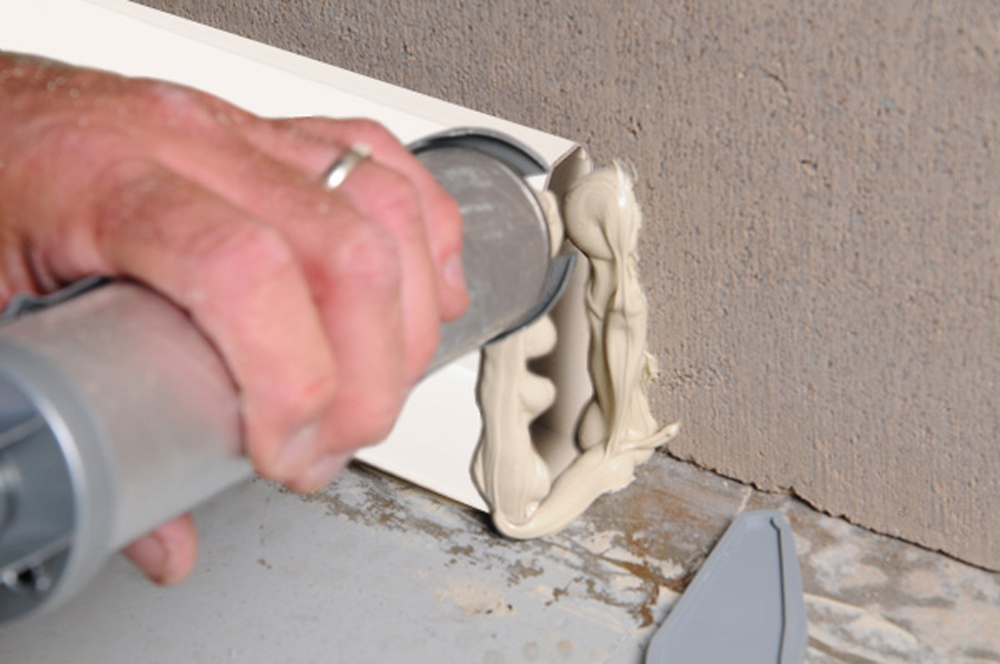
Step 13 : Installing an End Cap
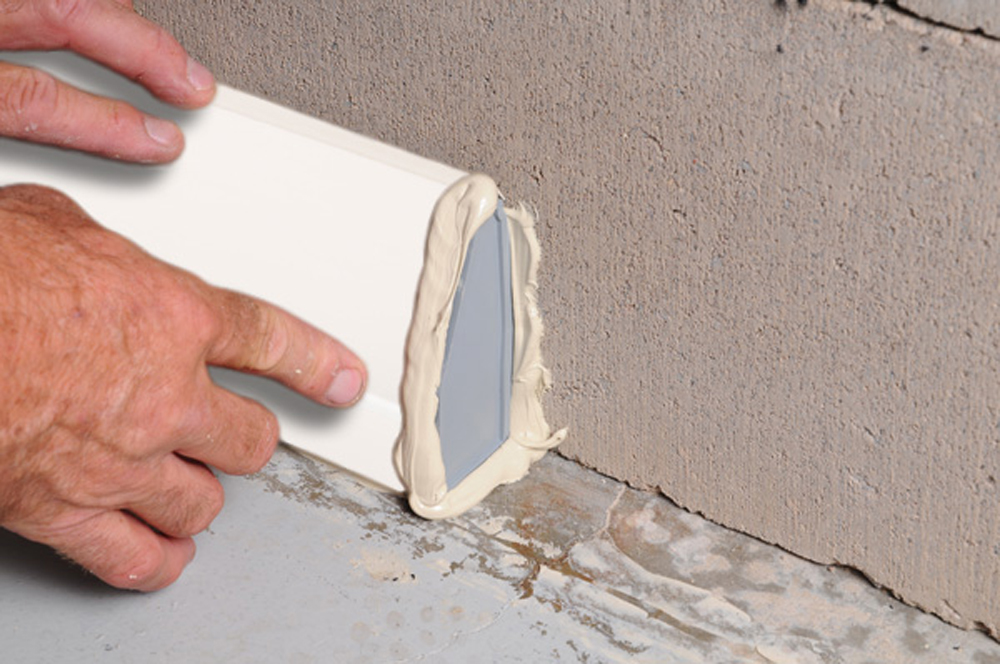
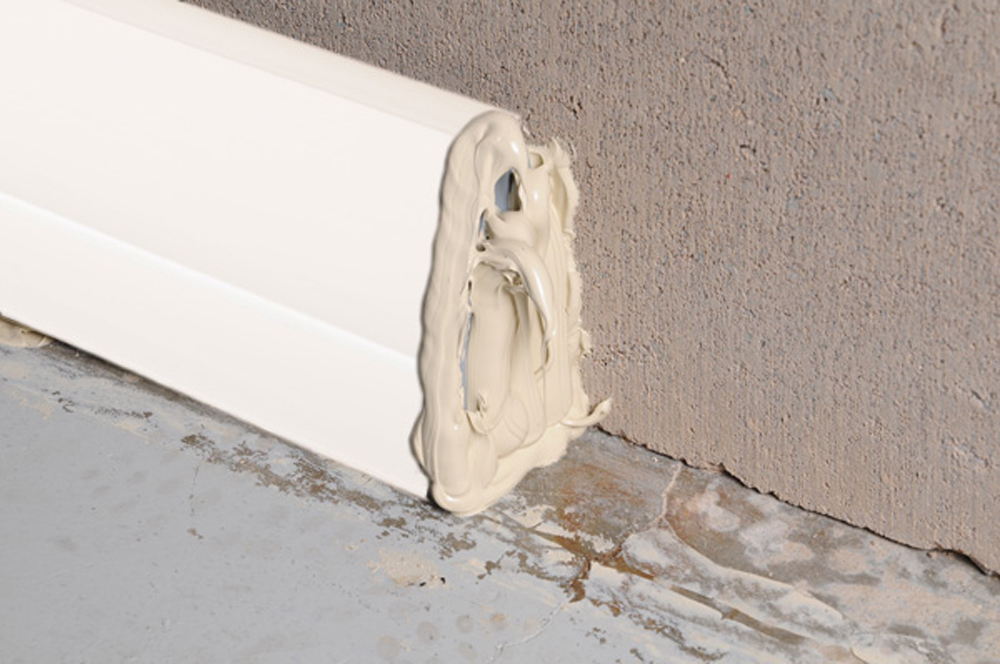
Apply adhesive across the bottom and up the wall and down the edge of baseboard. Set end cap in place and caulk all edges again.
Step 13.1
Step 13.2
Step 13.3
Step 13.4
Step 13.5
Step 14 : Draining
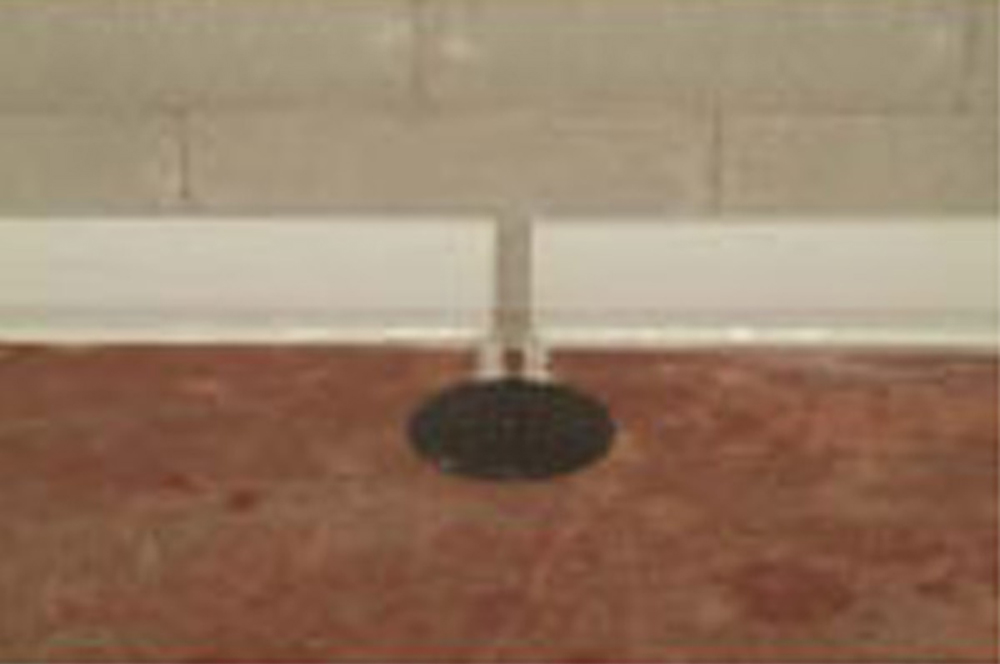
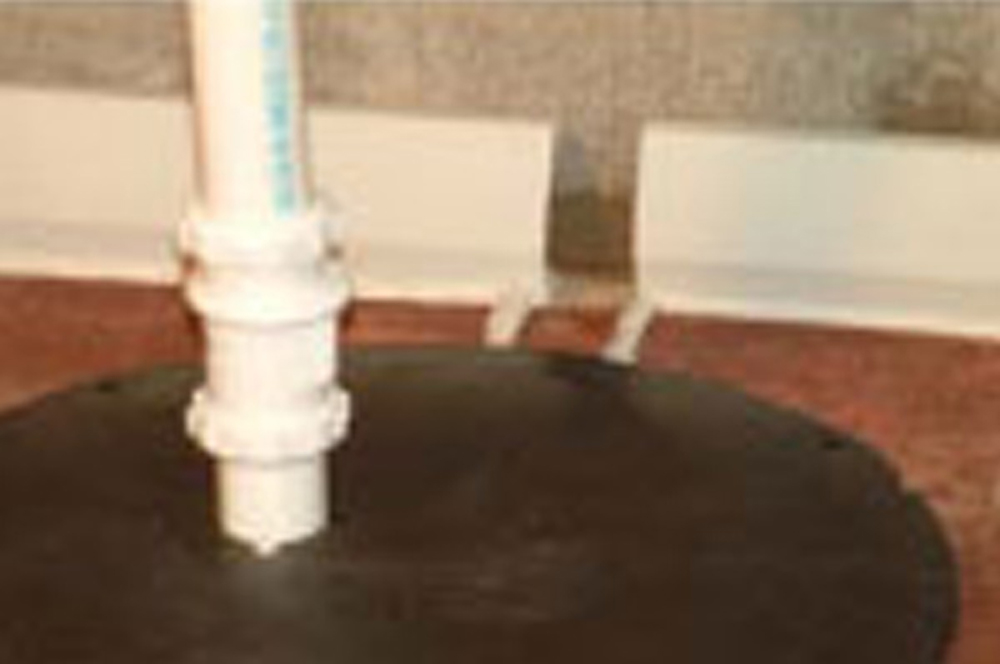
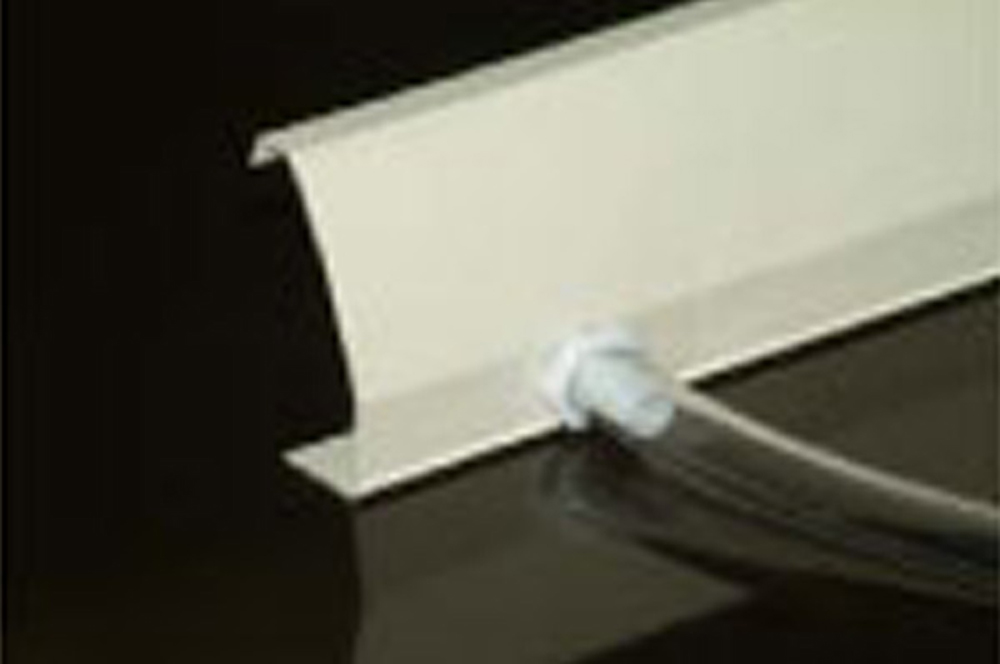
Listed below are the options for setting up how the BEAVER® Basement Waterproofing Baseboard System will drain the water that it collects into a drain, sump pump or alternate drain option.
Step 14.1
Step 14.2
Step 14.3
Step 14.4
